Assembly
Contents
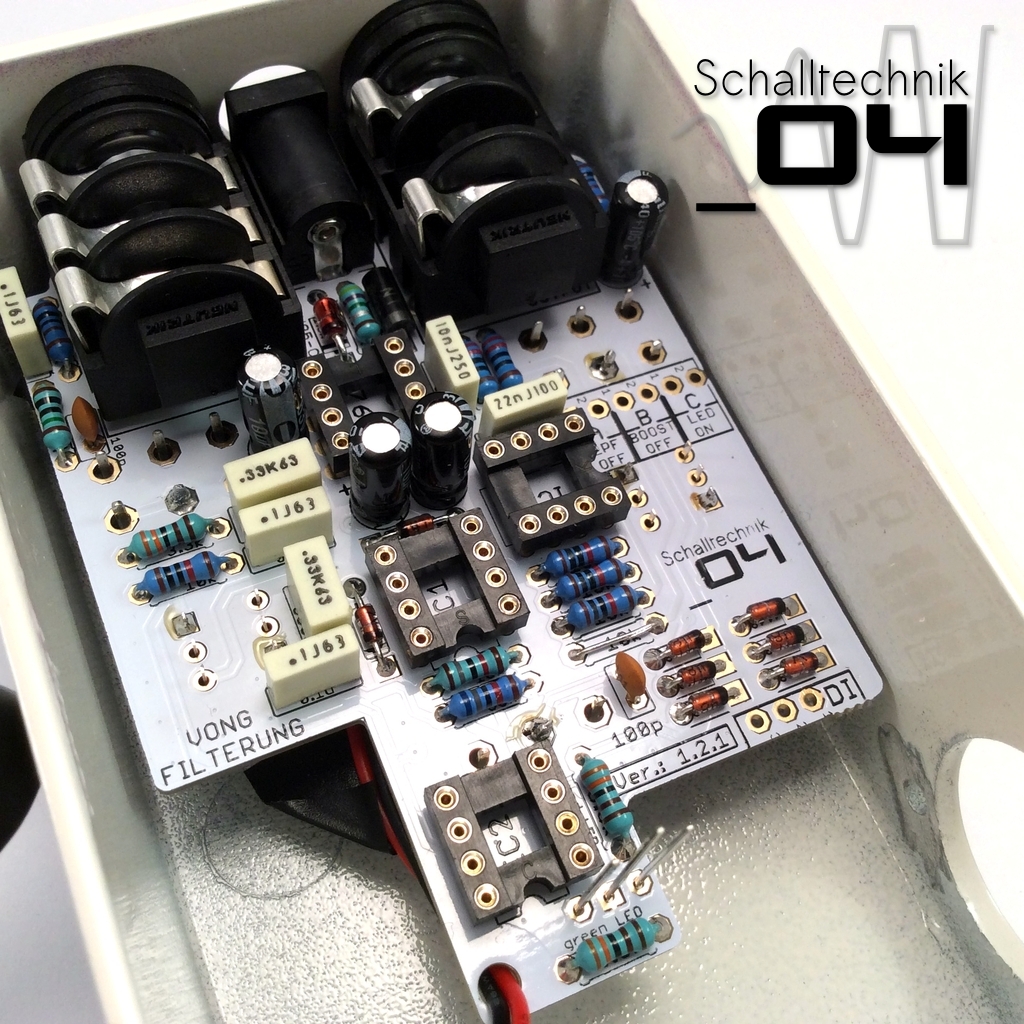
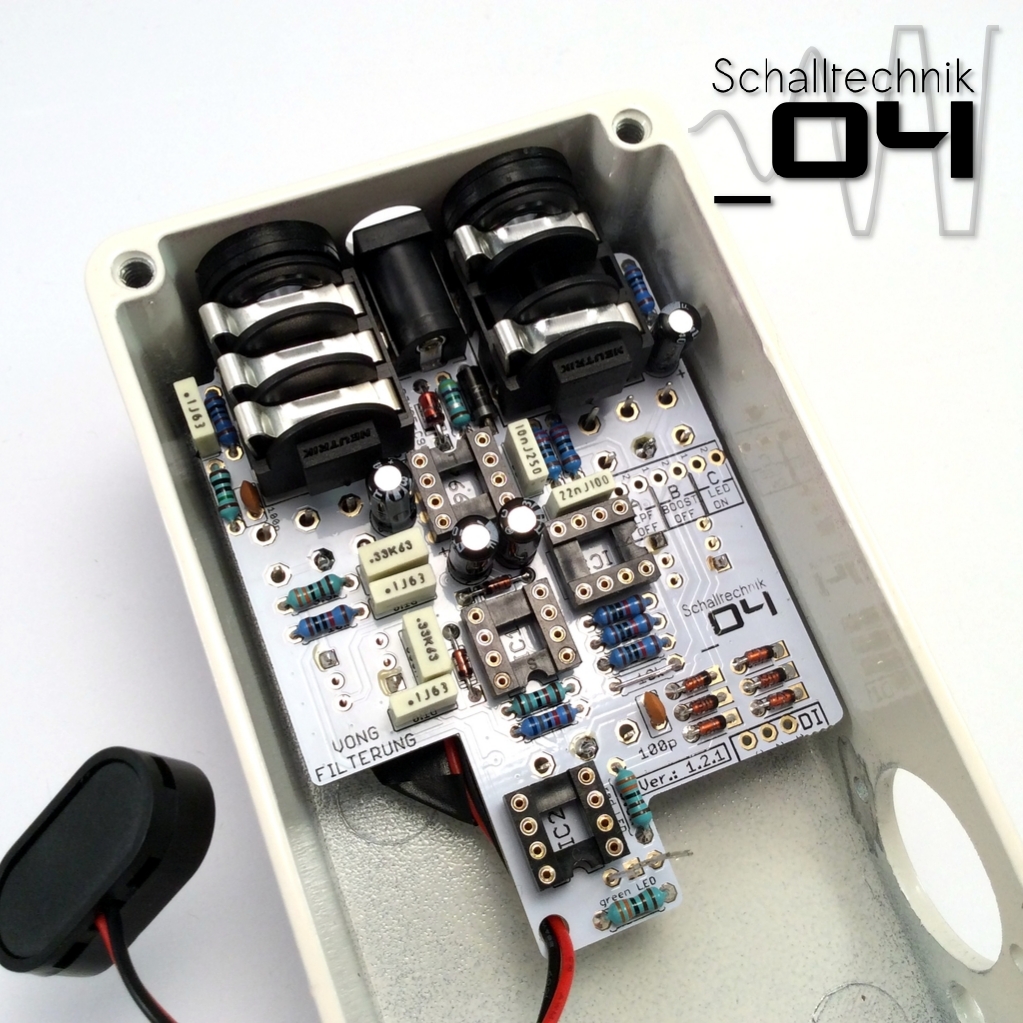 Put the pcb into the enclosure and then …
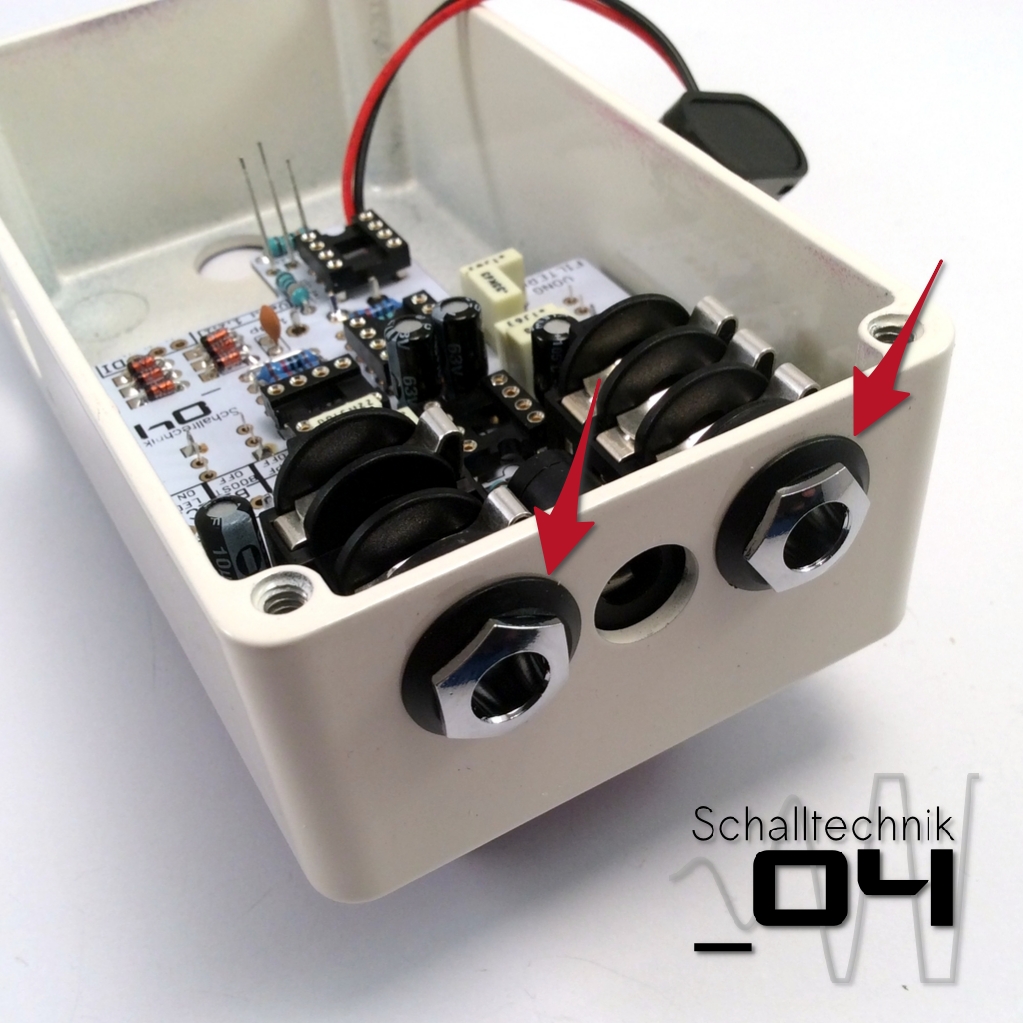 …screw the 1/4″-jacks tight first.
IMPORTANT!!
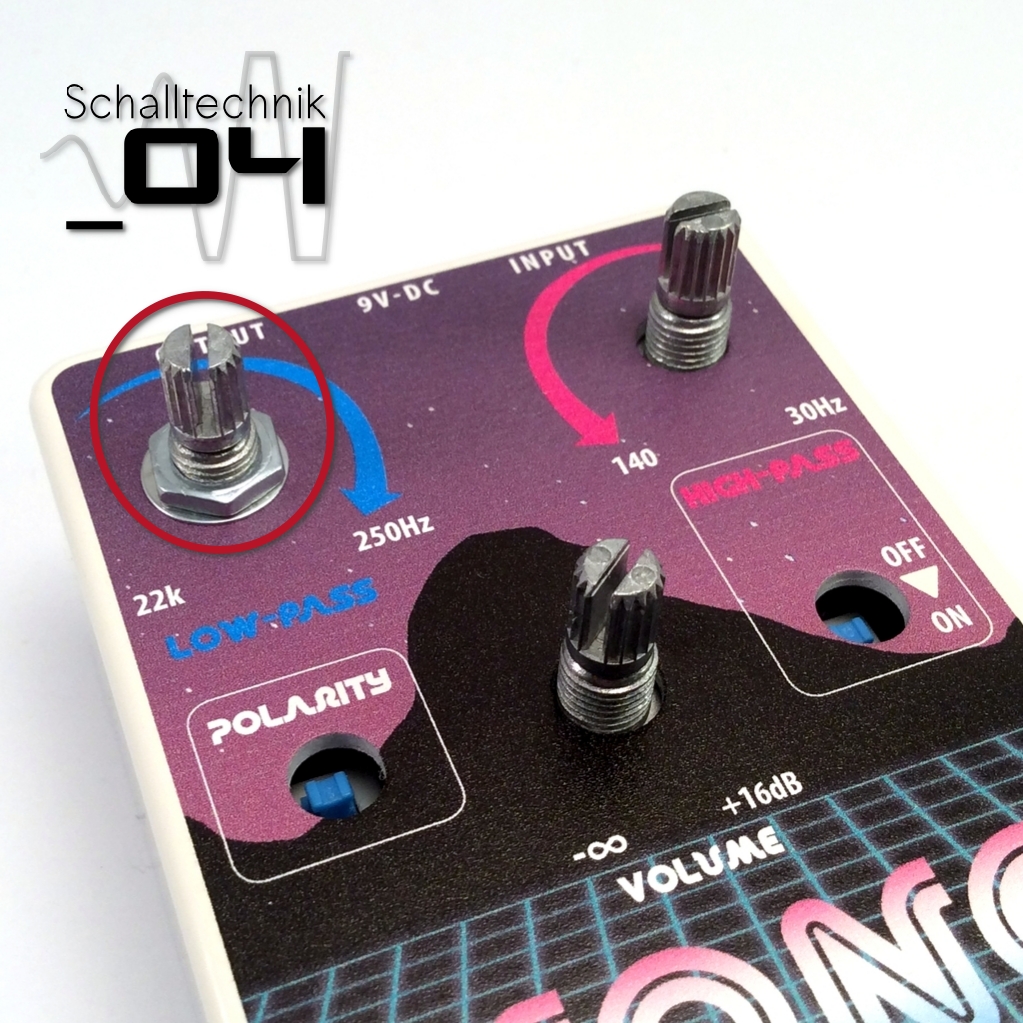
We soldered the pots just partially before. Now we need to adjust their height to the enclosure. That way the stress on the pcb gets minimized.
To do that: reheat the single set solder joint on each pot (one after the other) while pulling the shaft up and therefore the whole pot against the inner side of the enclosure front.
 Tighten the nuts of the pots
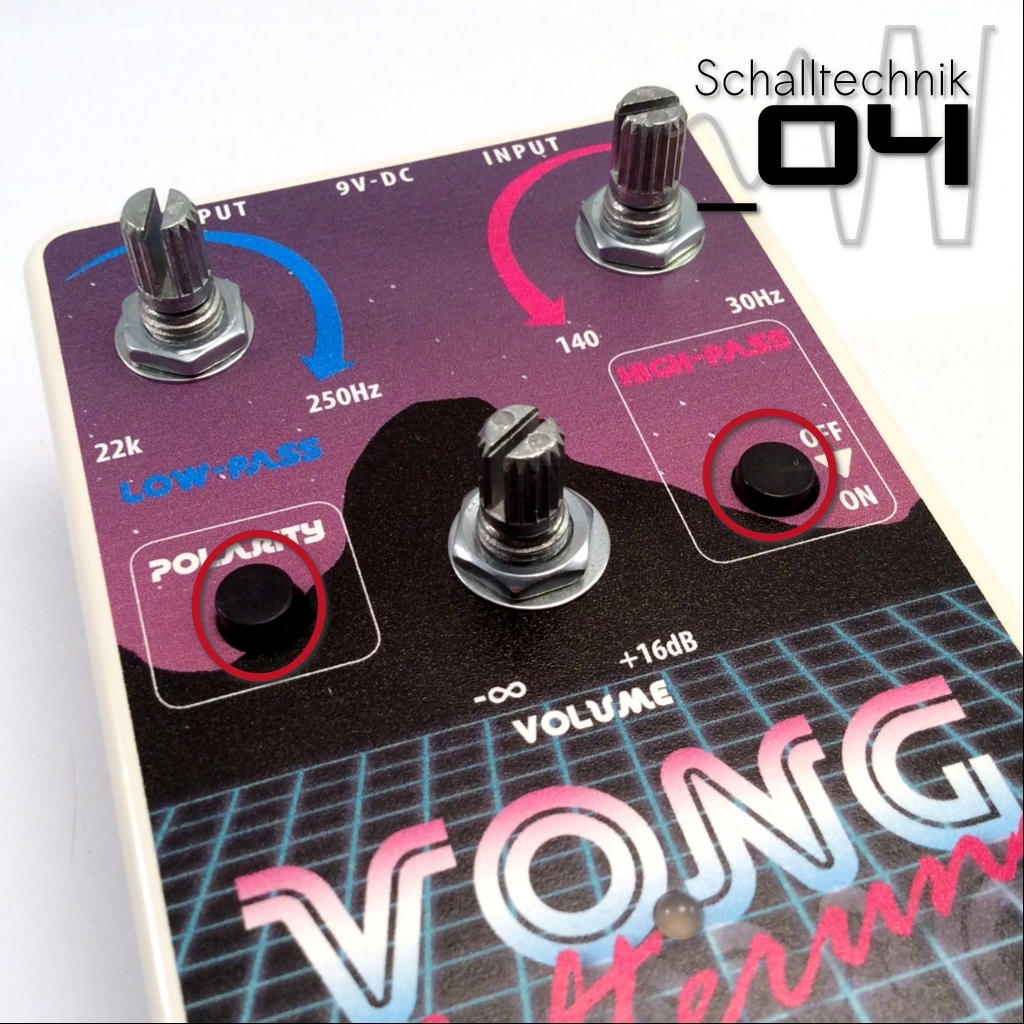 Add the caps of the switches. Then by reheating the already set solder joints try to fit the switch to the enclosure.
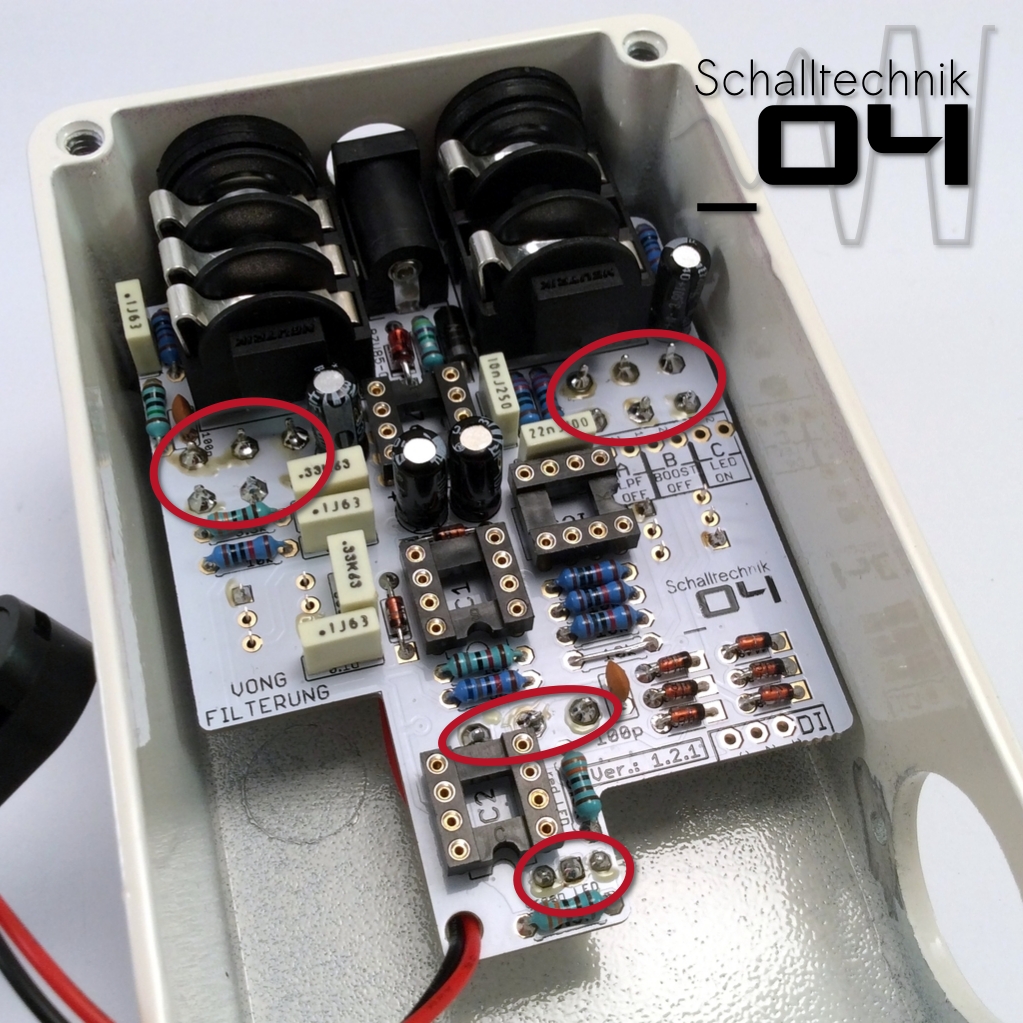 Now you can solder all the other missing connections of the pots, led and ….
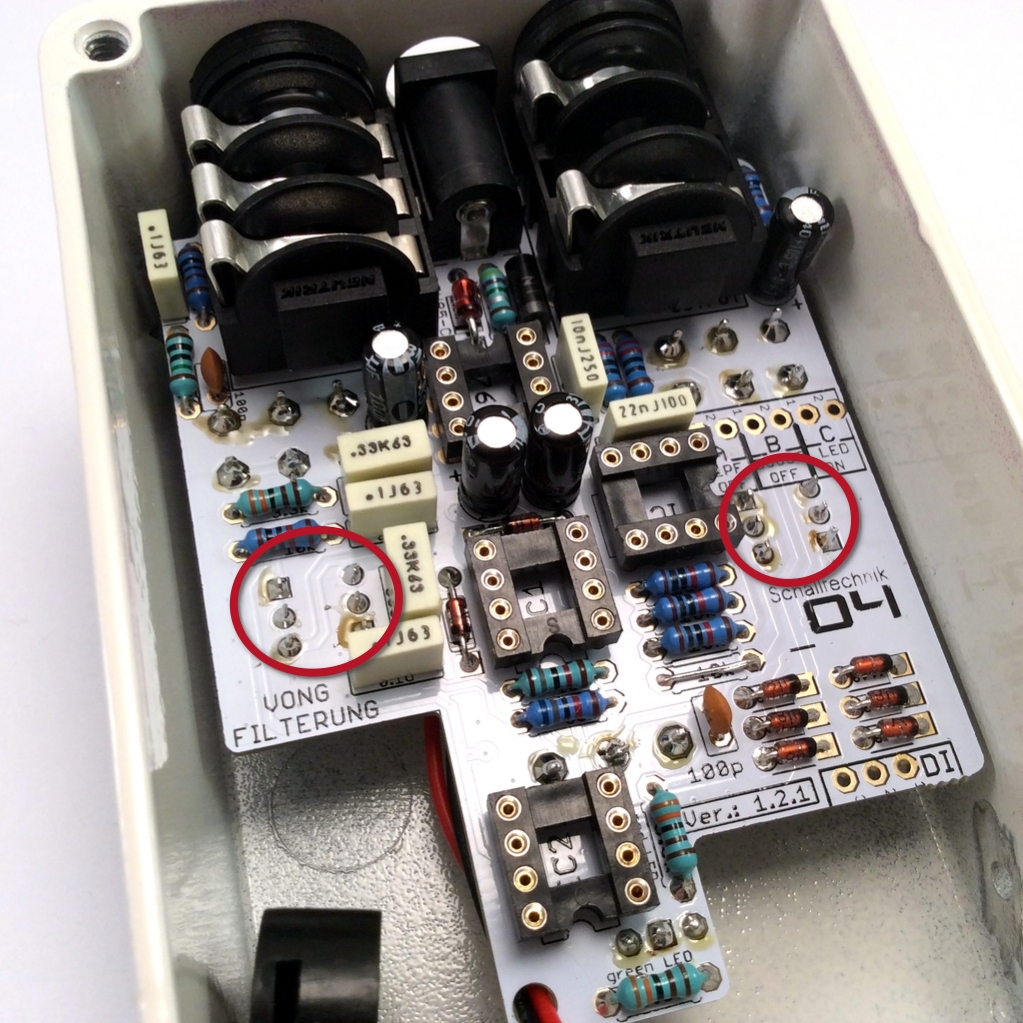 …switches.
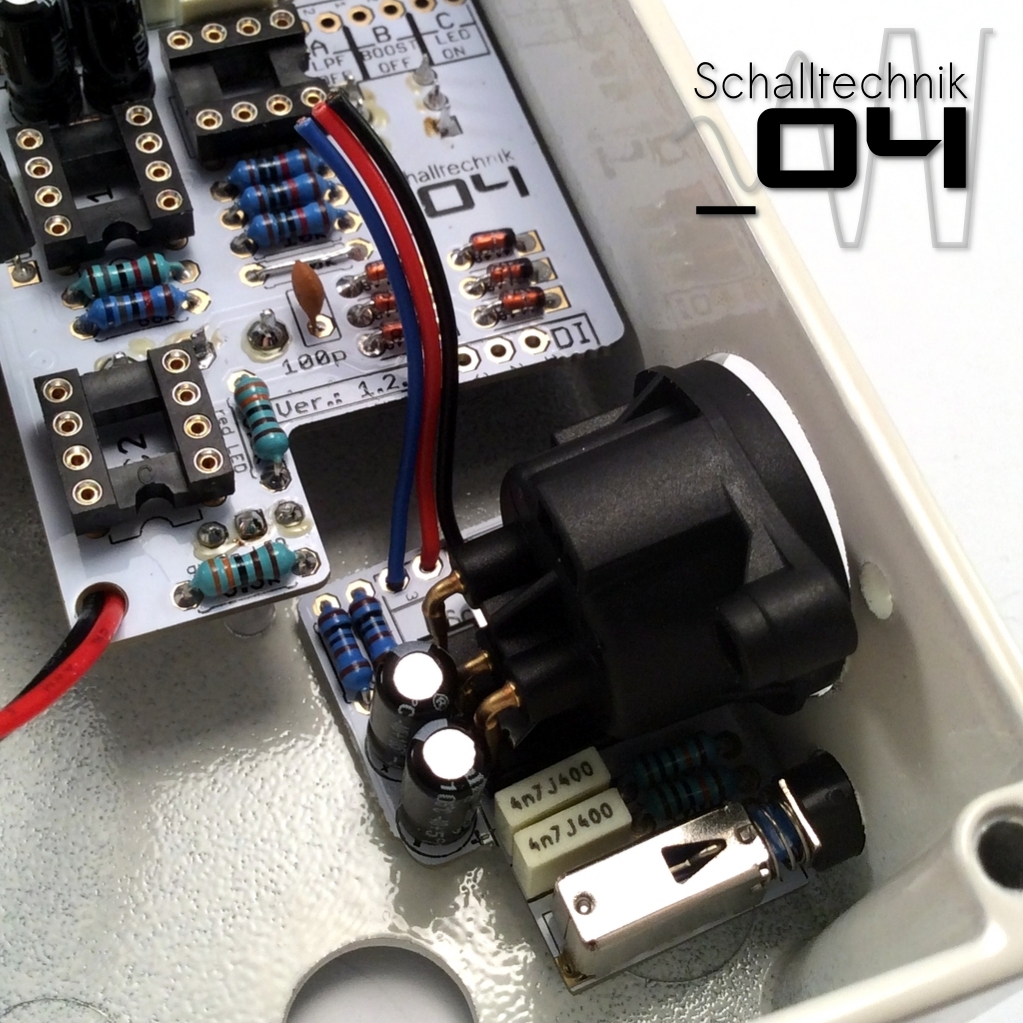 Insert the XLR pcb
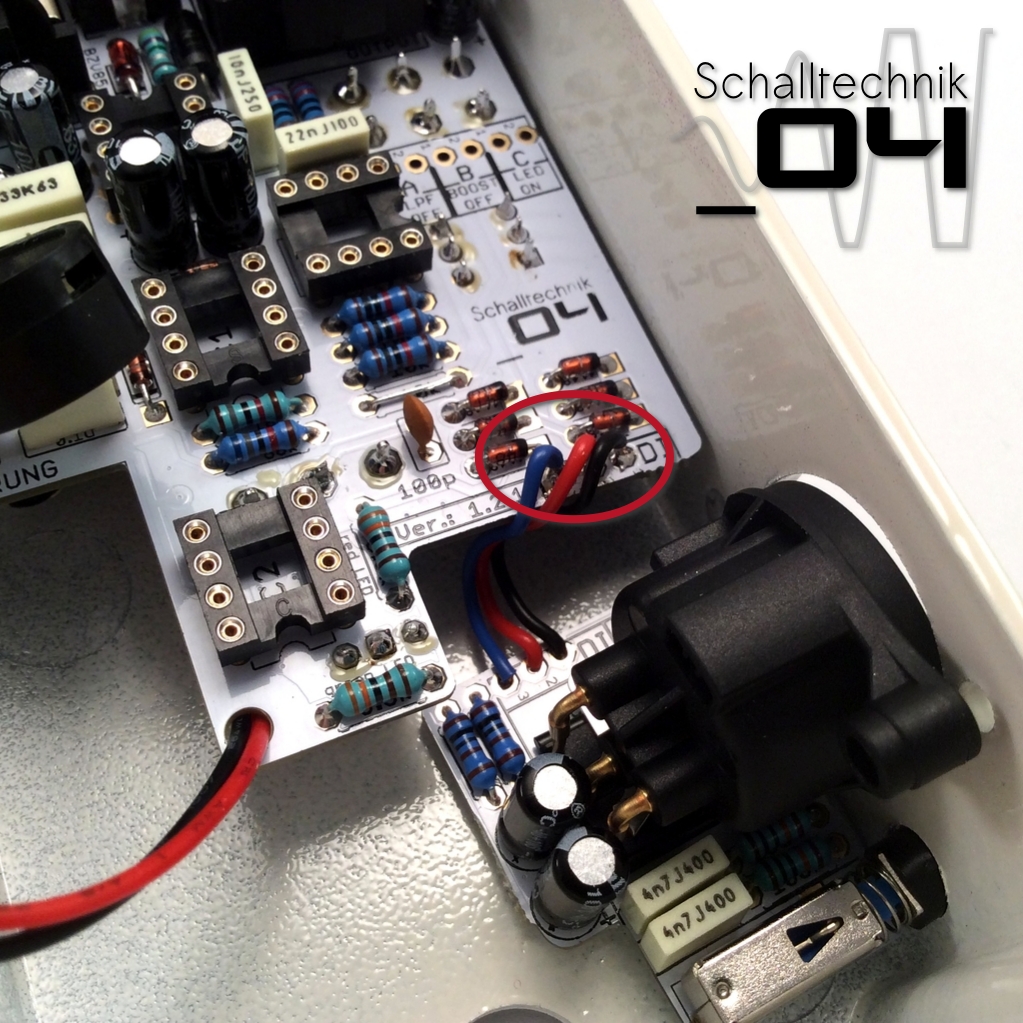 and solder the cables to the main pcb. 1-1, 2-2, 3-3
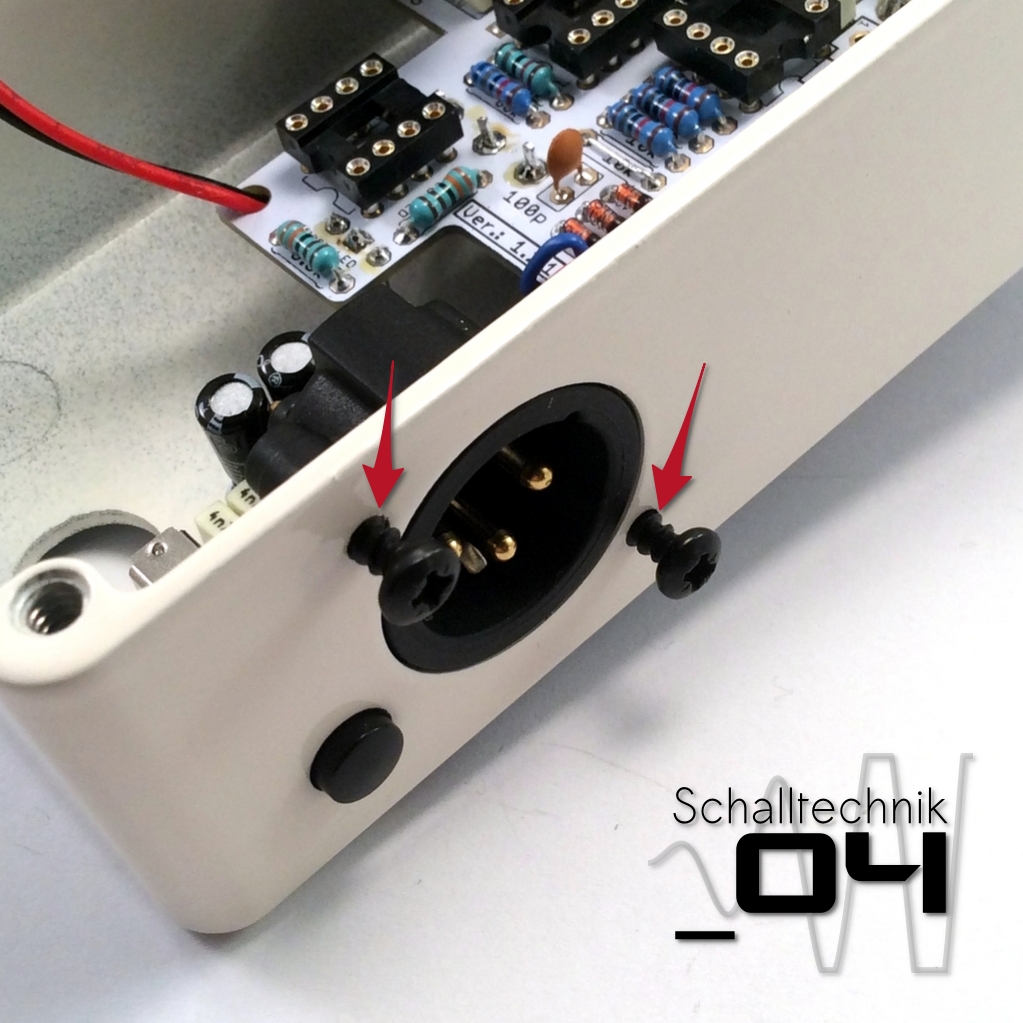 Add the screws…
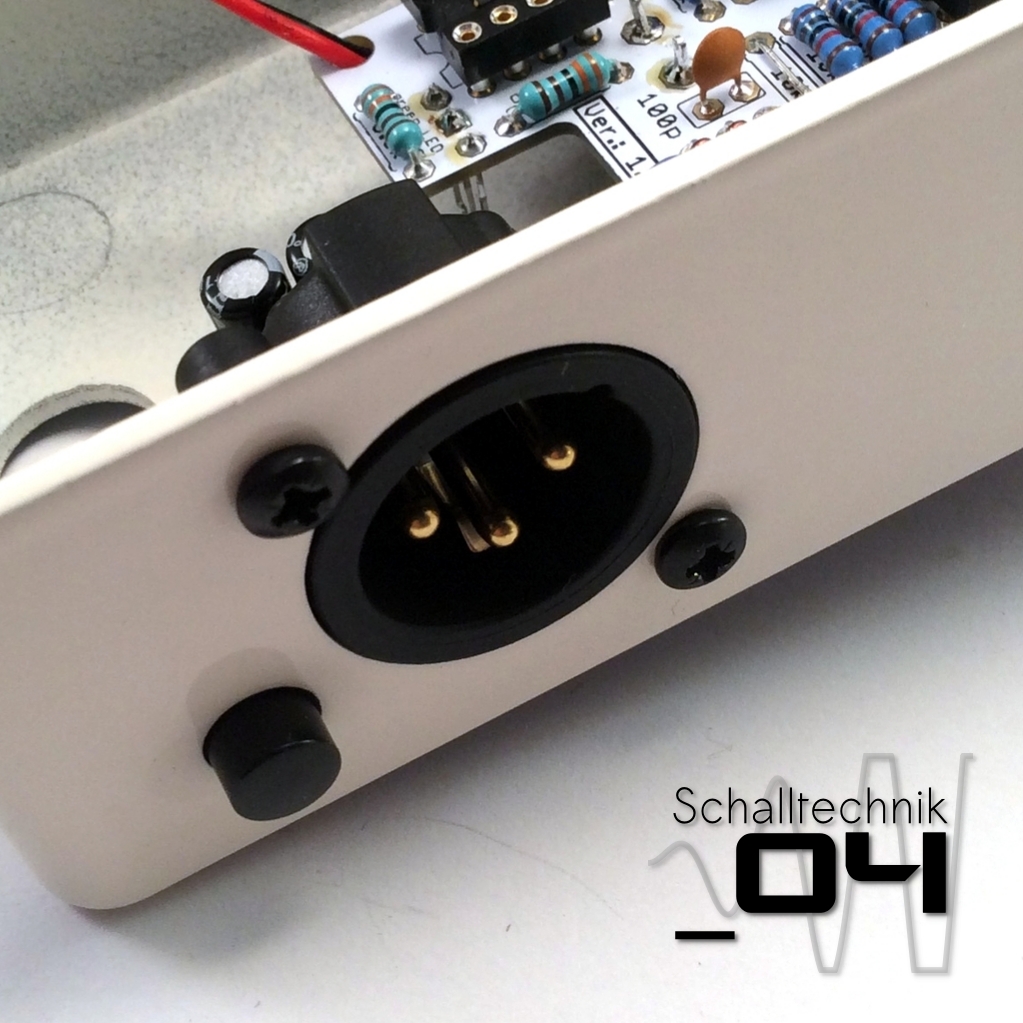 tighten them.
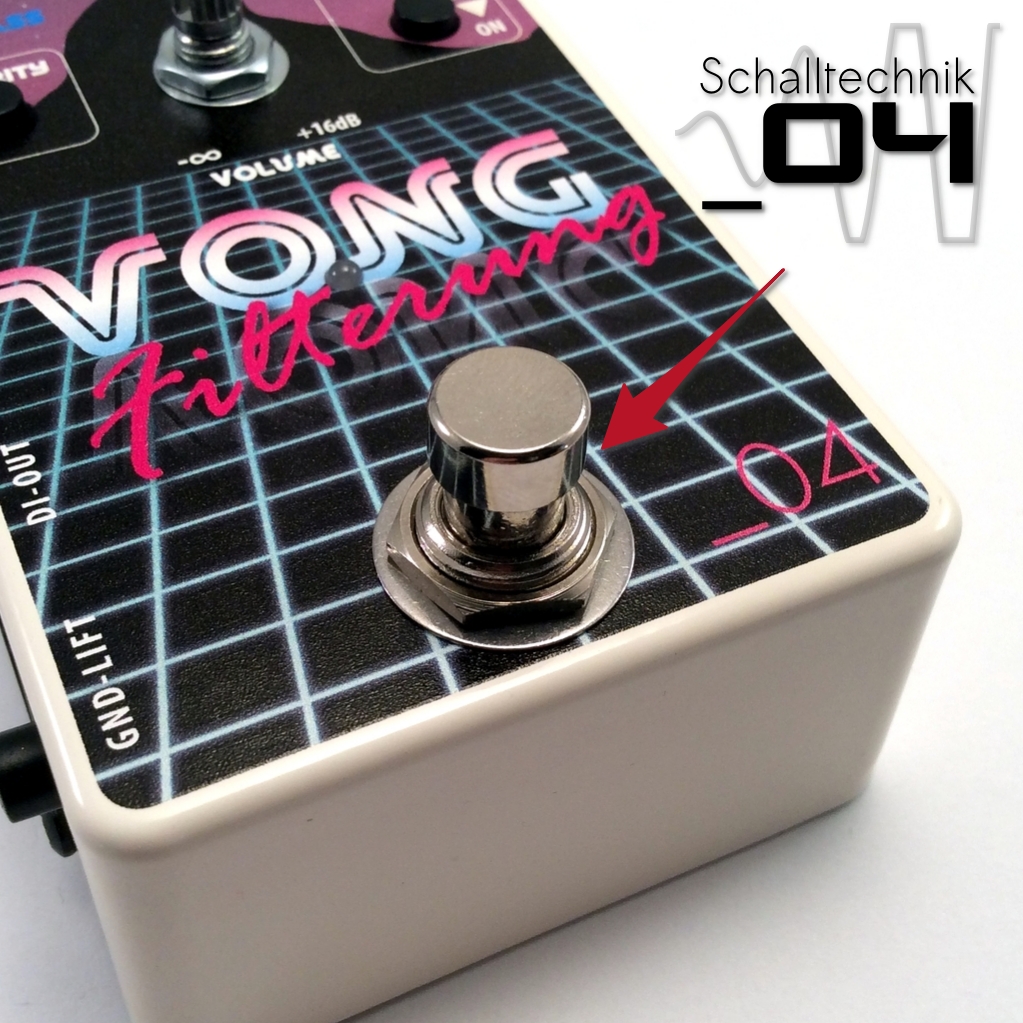 Install the footswitch (with the washer)…
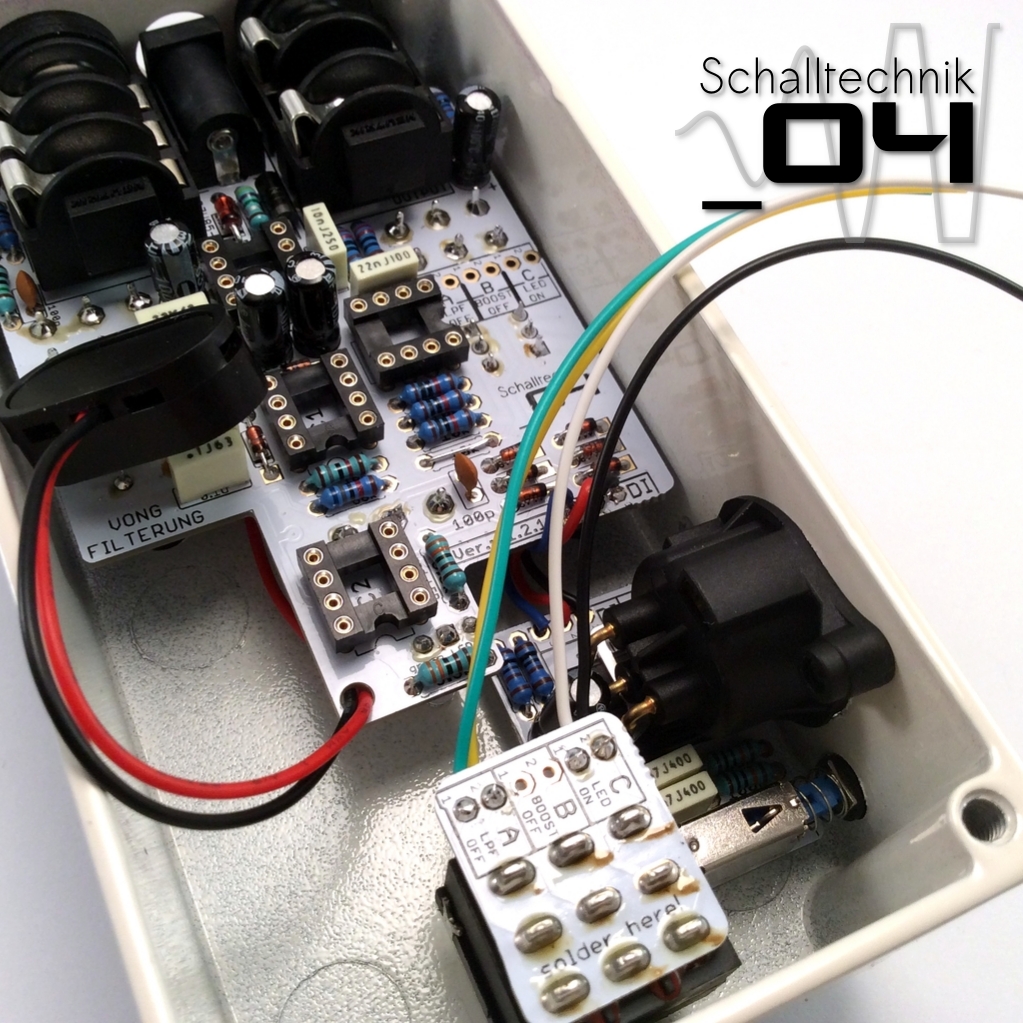
 …and solder the cables to the main pcb.
- Port A to Port A,
- Port B to Port B
- and to on.
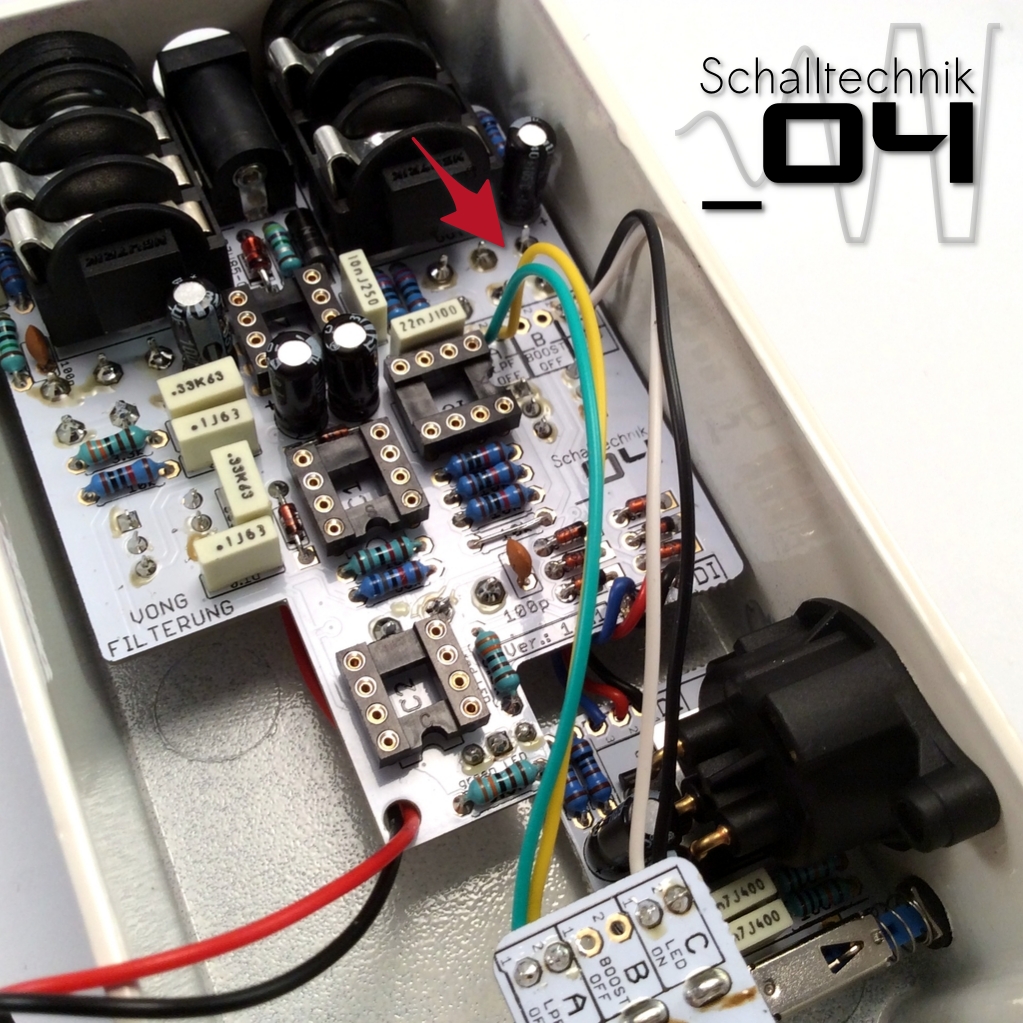
If you encounter problems while soldering from the top -> remove the main pcb from the enclosure and solder the wires in conventionally
You should try to avoid producing unintended electrical connection – so please be sure you wiring is correct and clean.
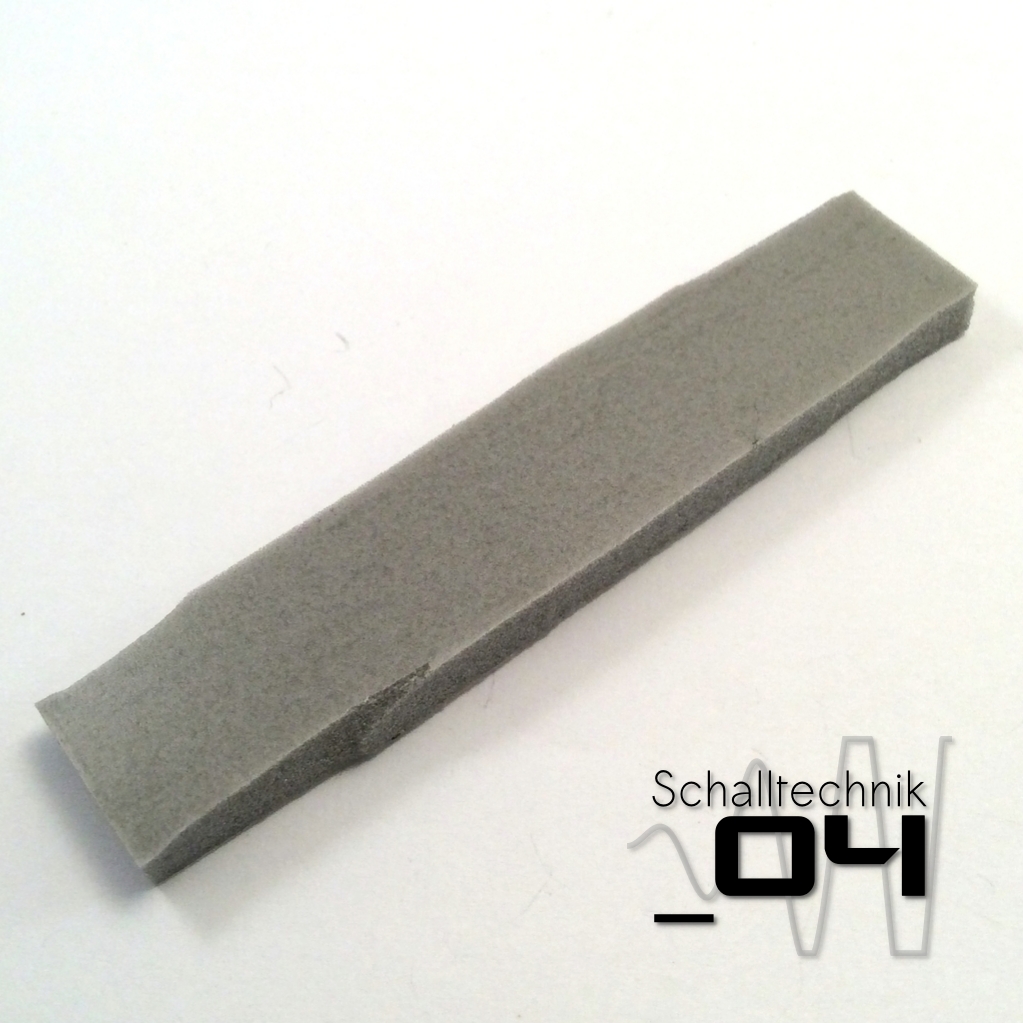
 Cut the foam into two pieces
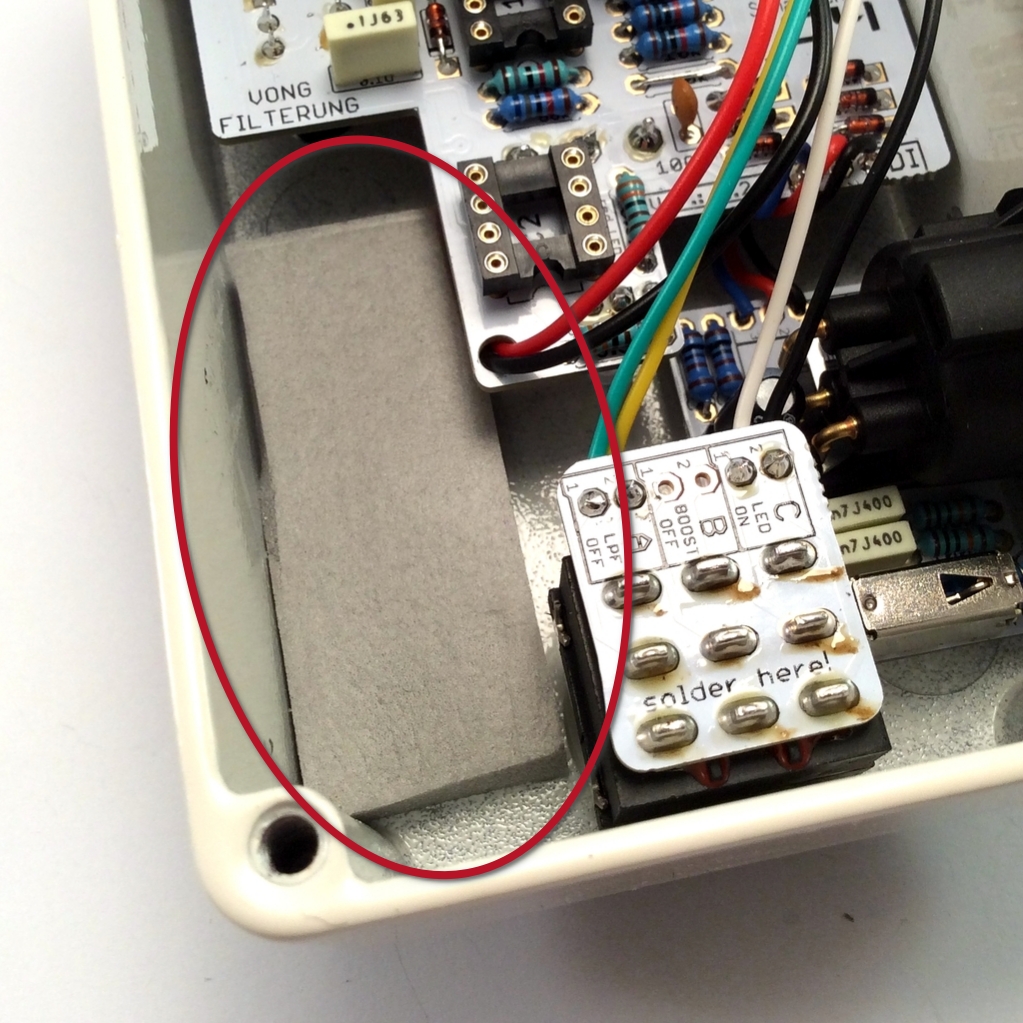 And add one part to the enclosure…
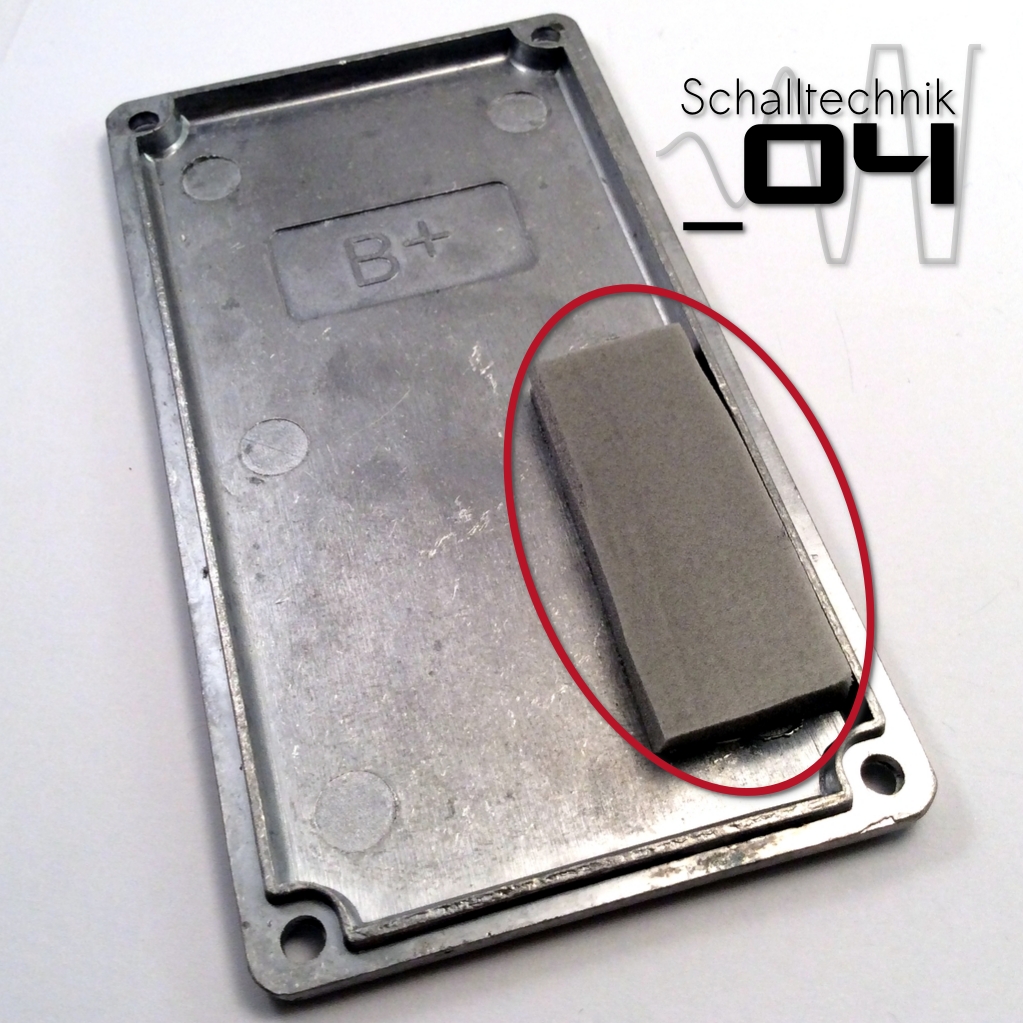 …and the other one to the lid.
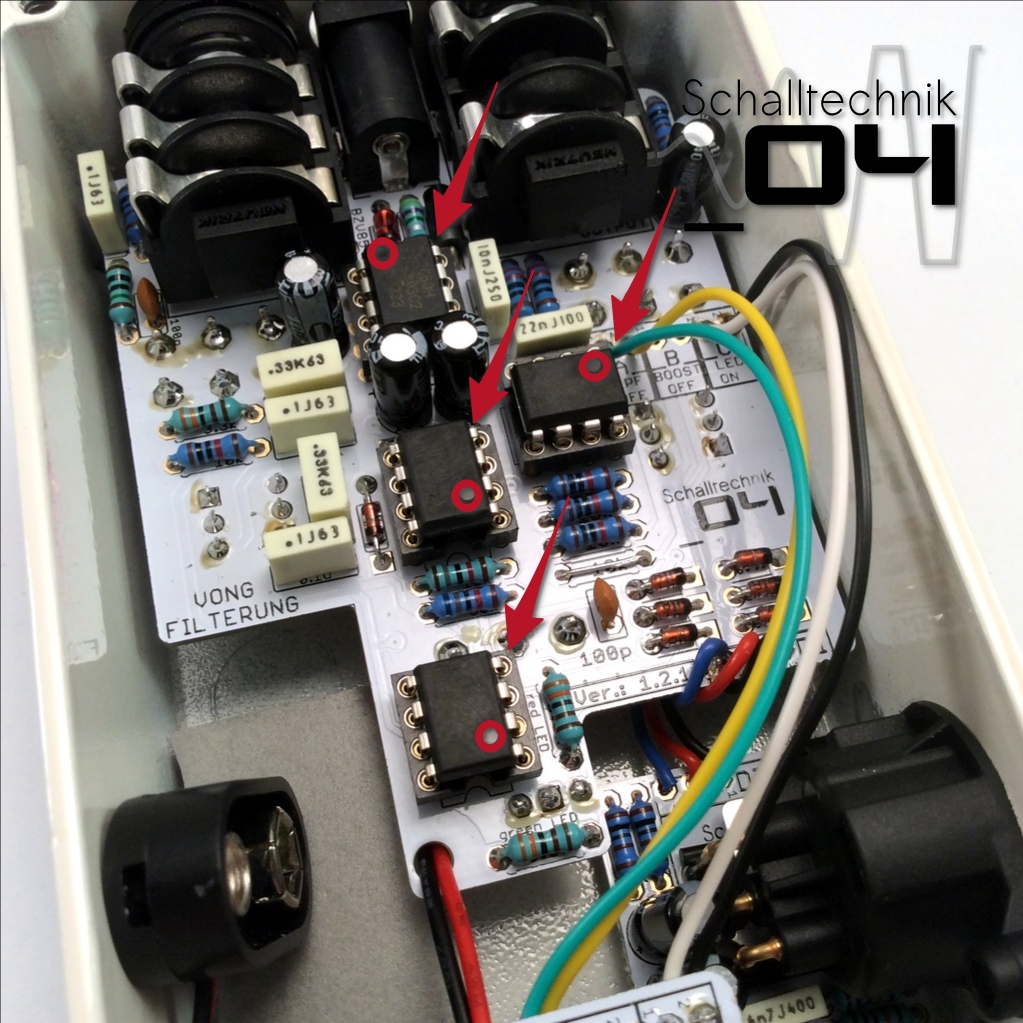 At the very end you can insert the three TL072 and the TC7660H (the one right below the DC-Jack). Align correctly! Don’t mix them up!
While inserting the ICs try to stablise the pcb by supporting it with your finger(s) under the pcb.
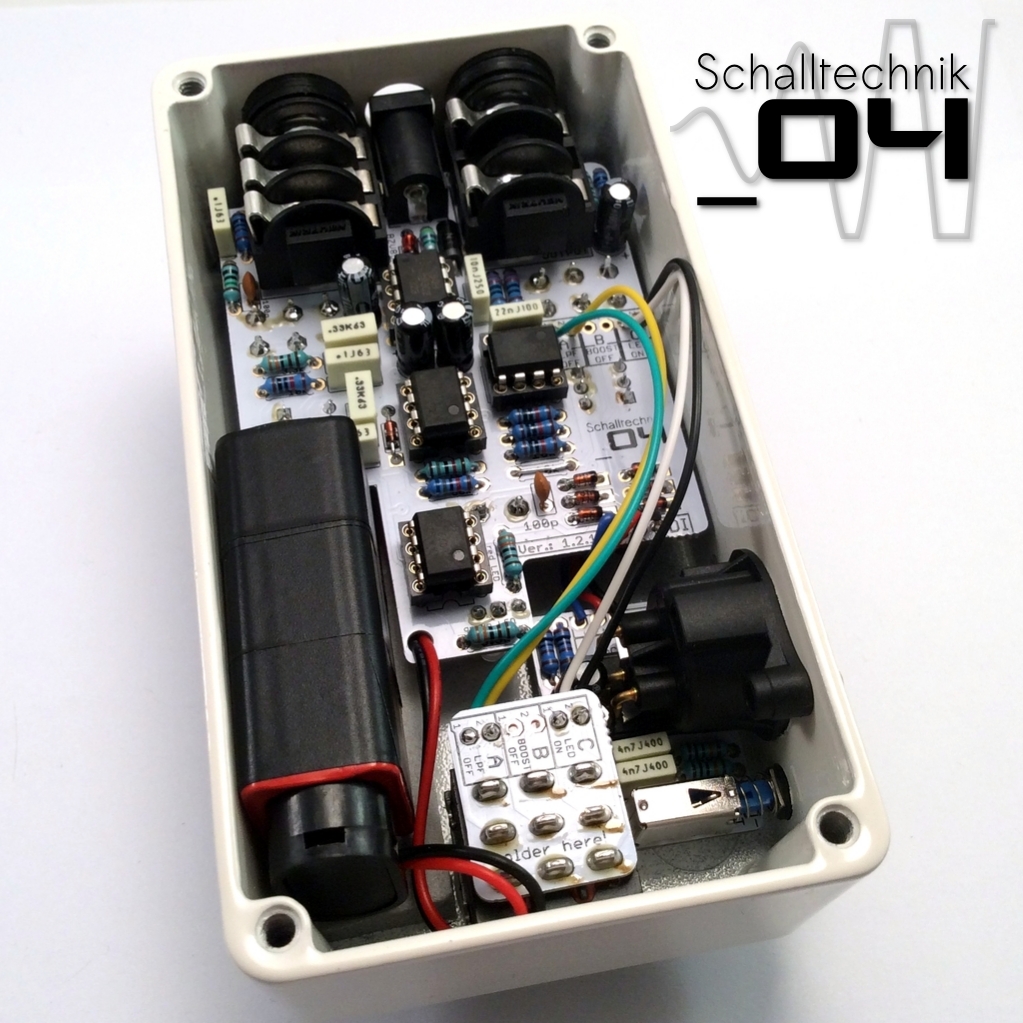 optional: insert the battery
Note: If you choose to neglect the battery, isolate the battery clip with some tape – just to be safe.

That’s it! We’re done. Time for testing!?