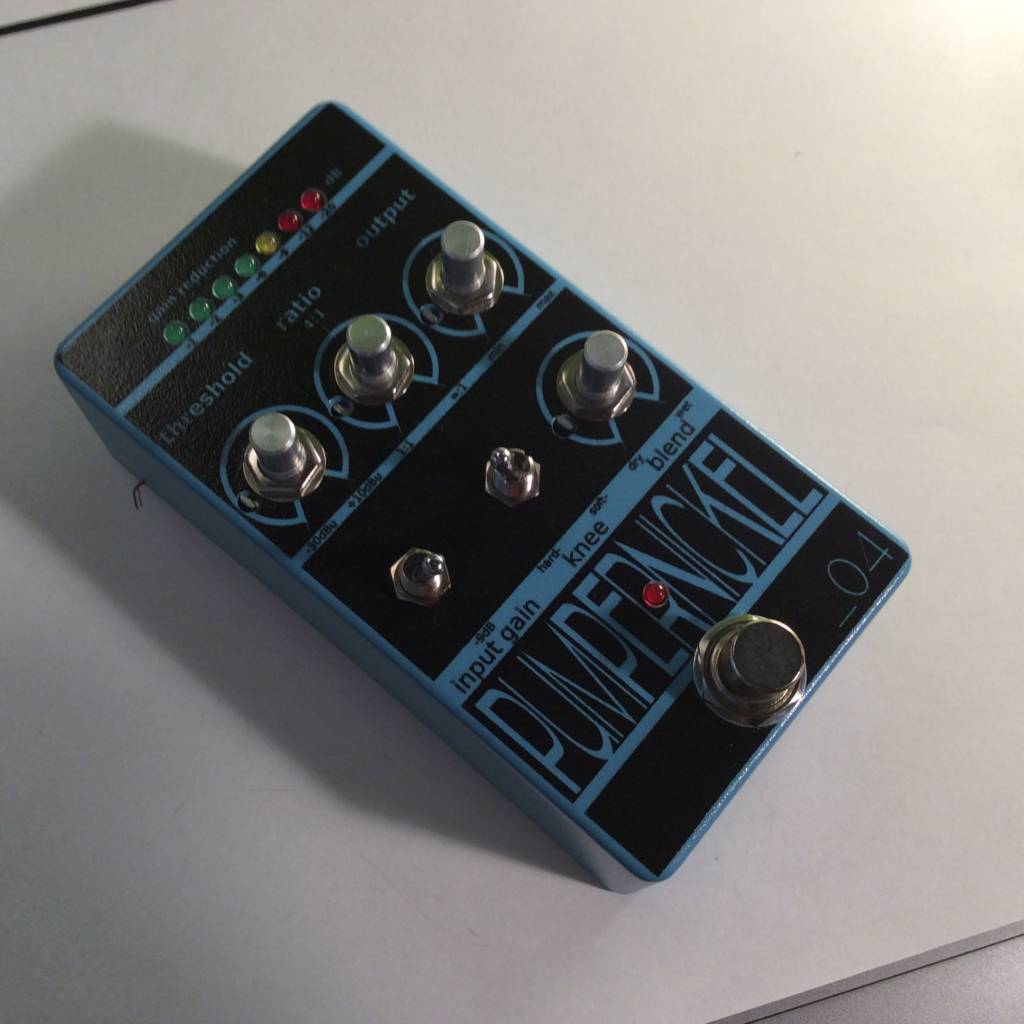
Assembly
Contents
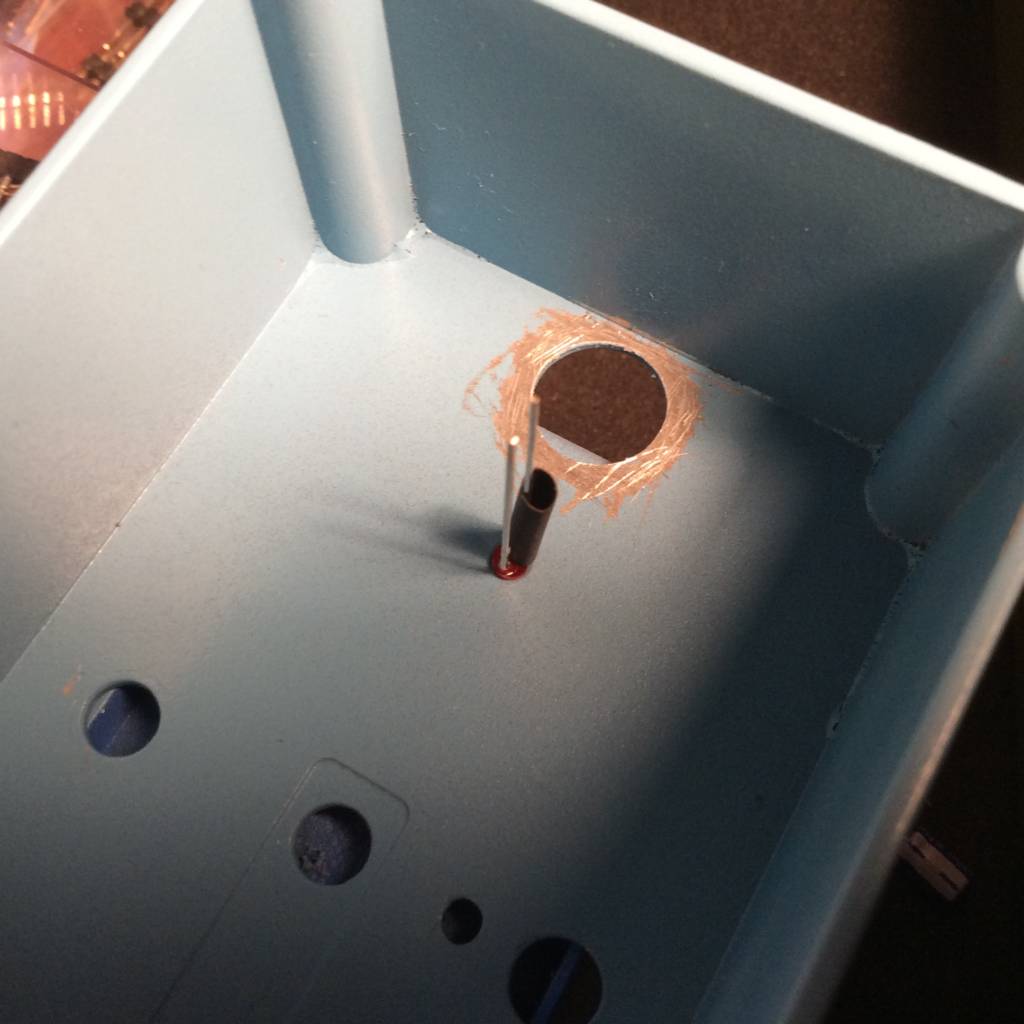 Insert the led Align correctly!, …
The shorter leg of the LED goes through the rectangular hole!
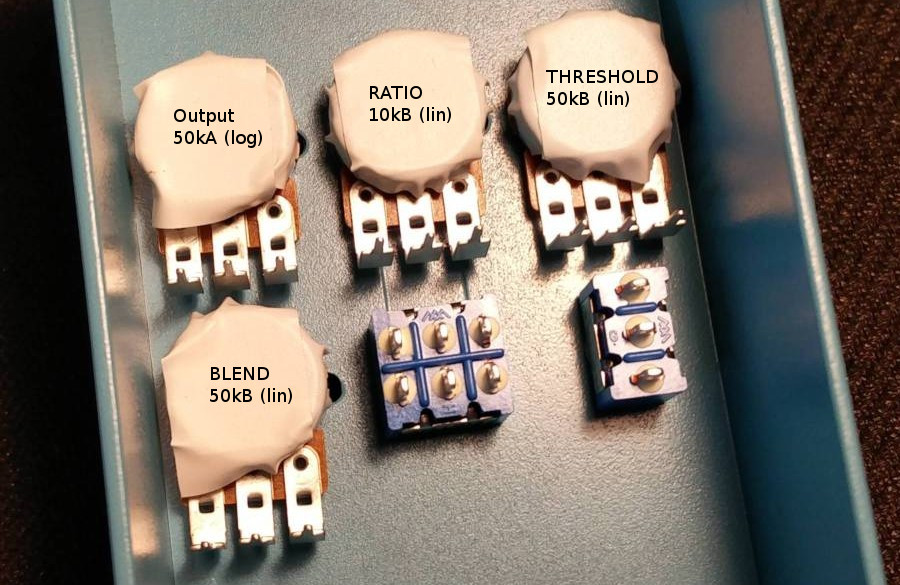 Screw the pots and switches in the enclosure.
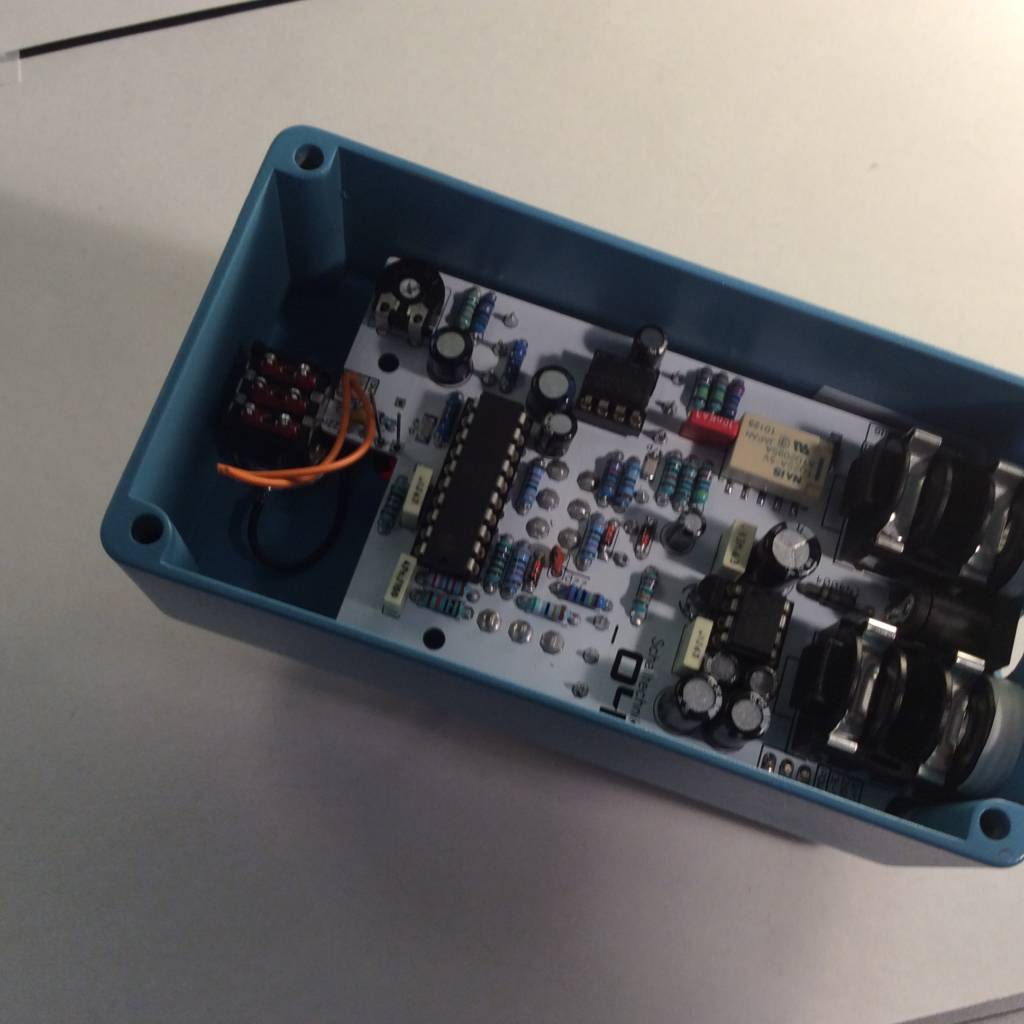
Take the pcb and lead through the pins from above.
This methode seems to be tricky, but in my case it always worked after the second or third “take the PCB out, bend the pins a little bitte, put the pcb in again”: 🙂
Important here: Don’t use force!
If everything fits, tighten the nuts of the jacks and afterwards solder the switches and pots to the pcb then screw the other nuts tight.
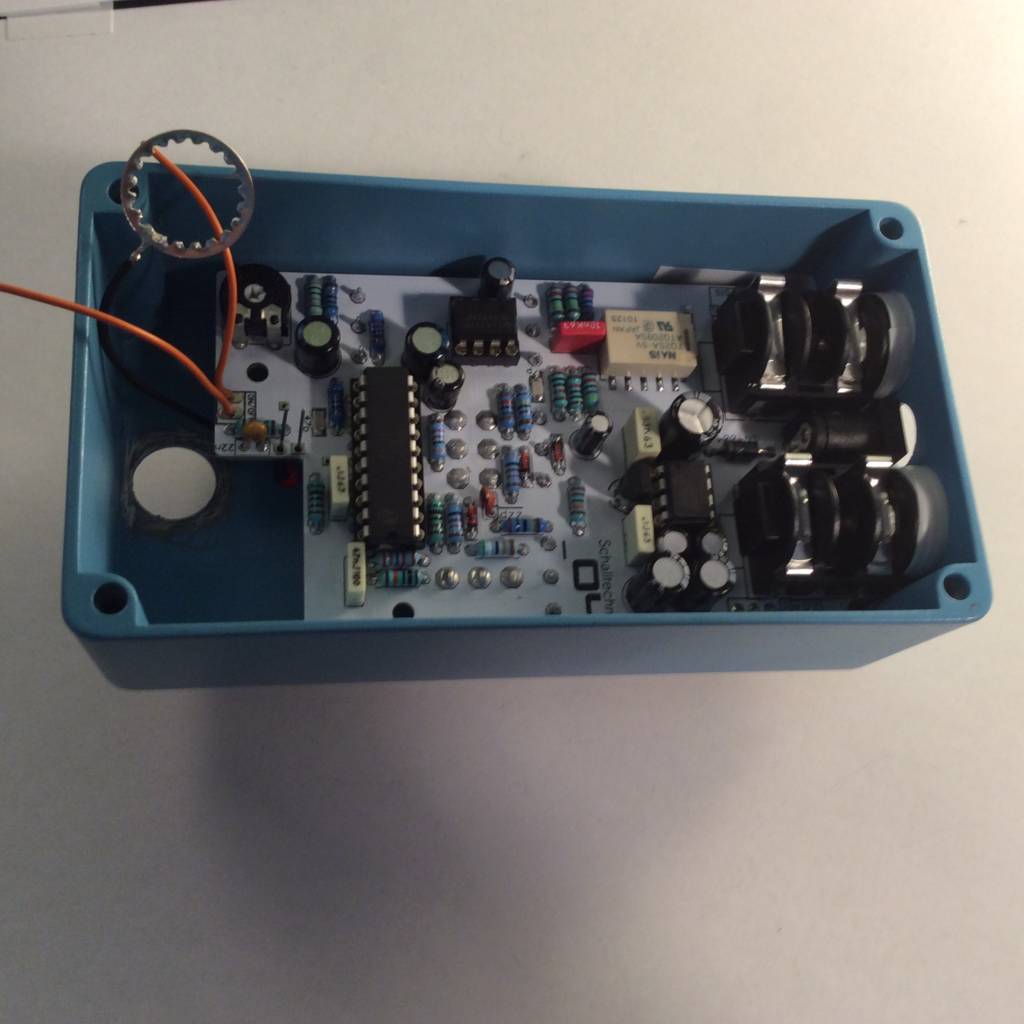
Now mount the footswitch with the teeth washer…
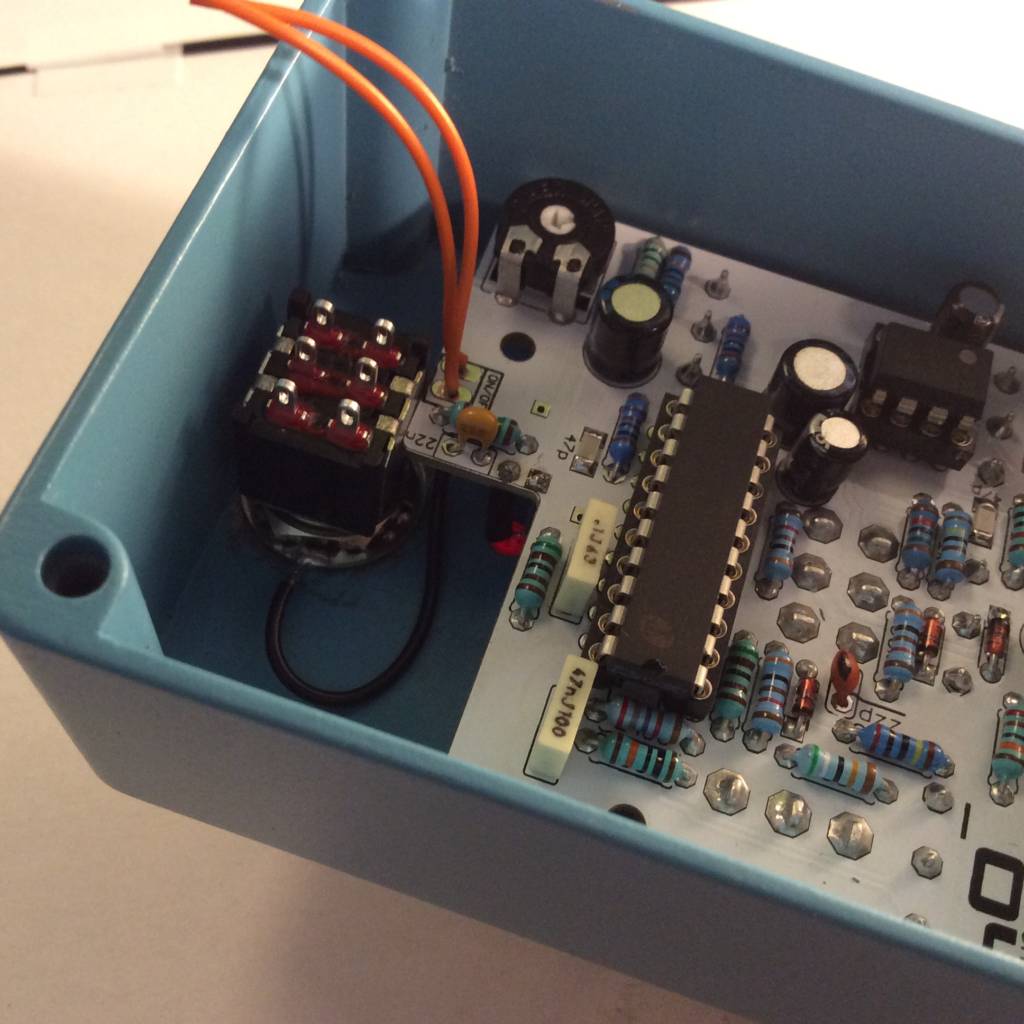 And connect the wires.
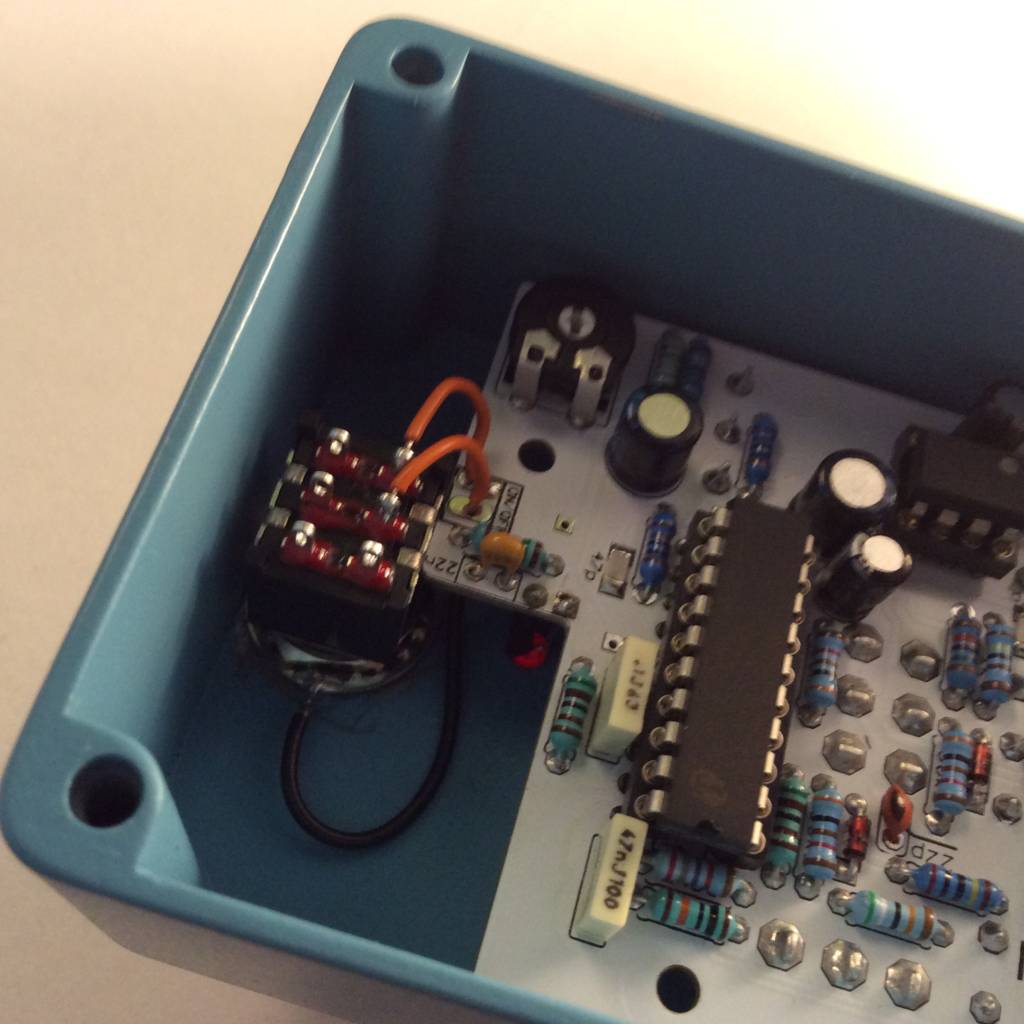
Set the trimmer-pot in middle position (12 o’clock)
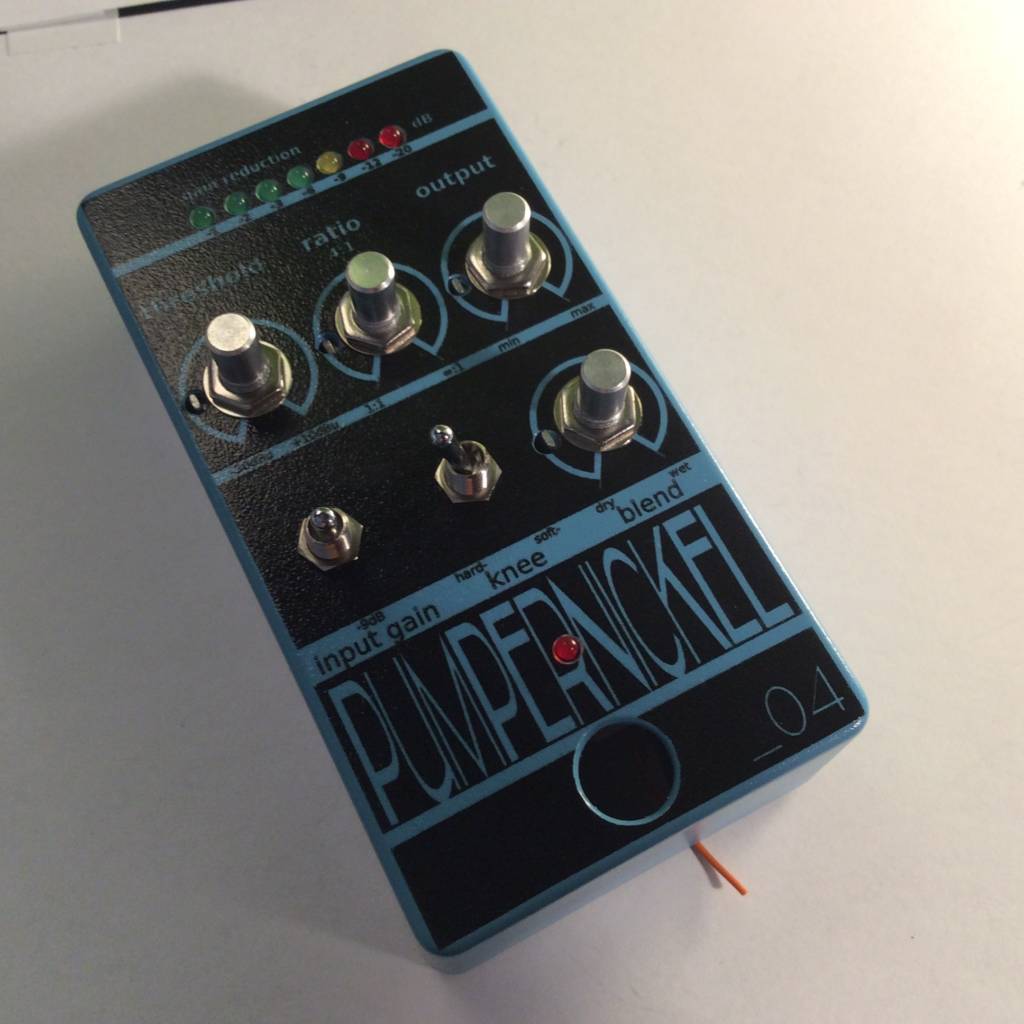
In this configuration the pumpernickel is ready for it’s first test.