PCB-assembly 5/6
Contents
Now take the LED-Indicator-Board…
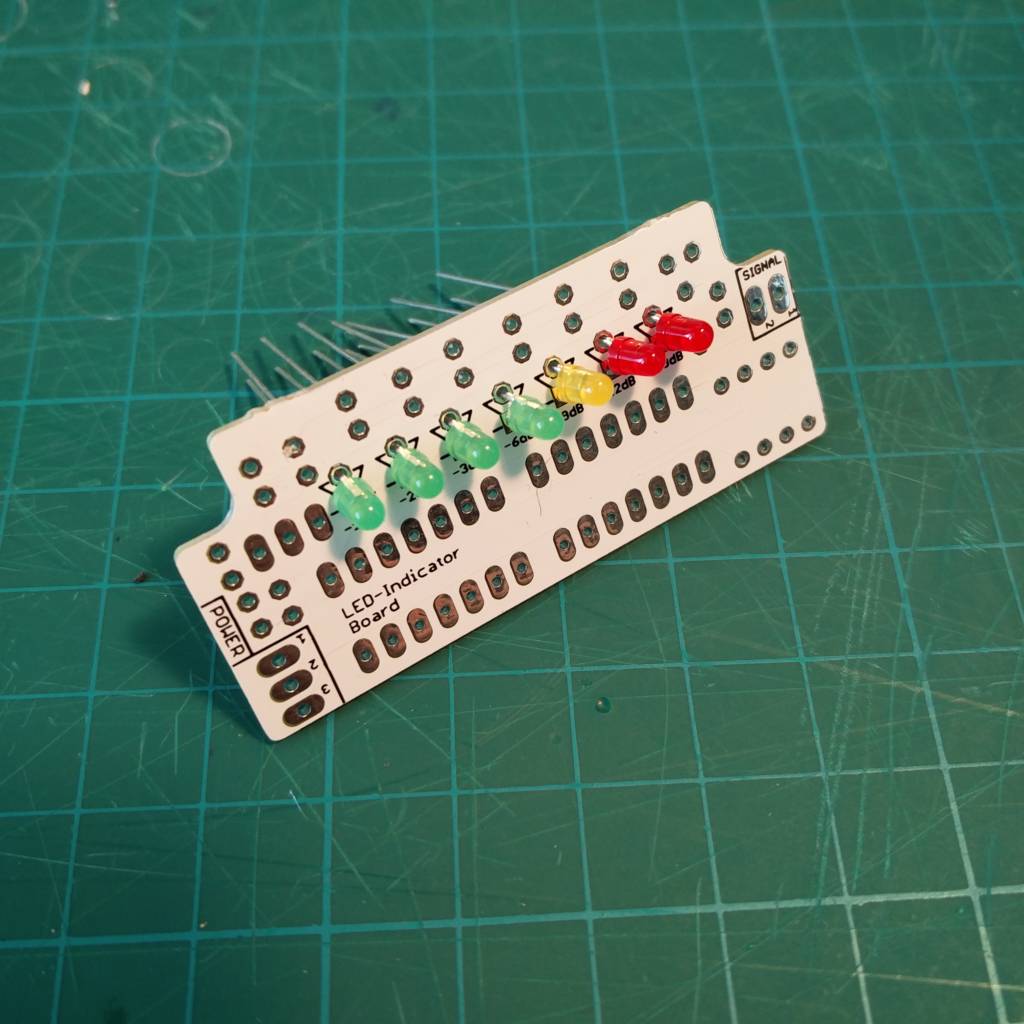
and thread the leds in the board Align correctly!
The shorter leg of the LED goes through the rectangular hole!
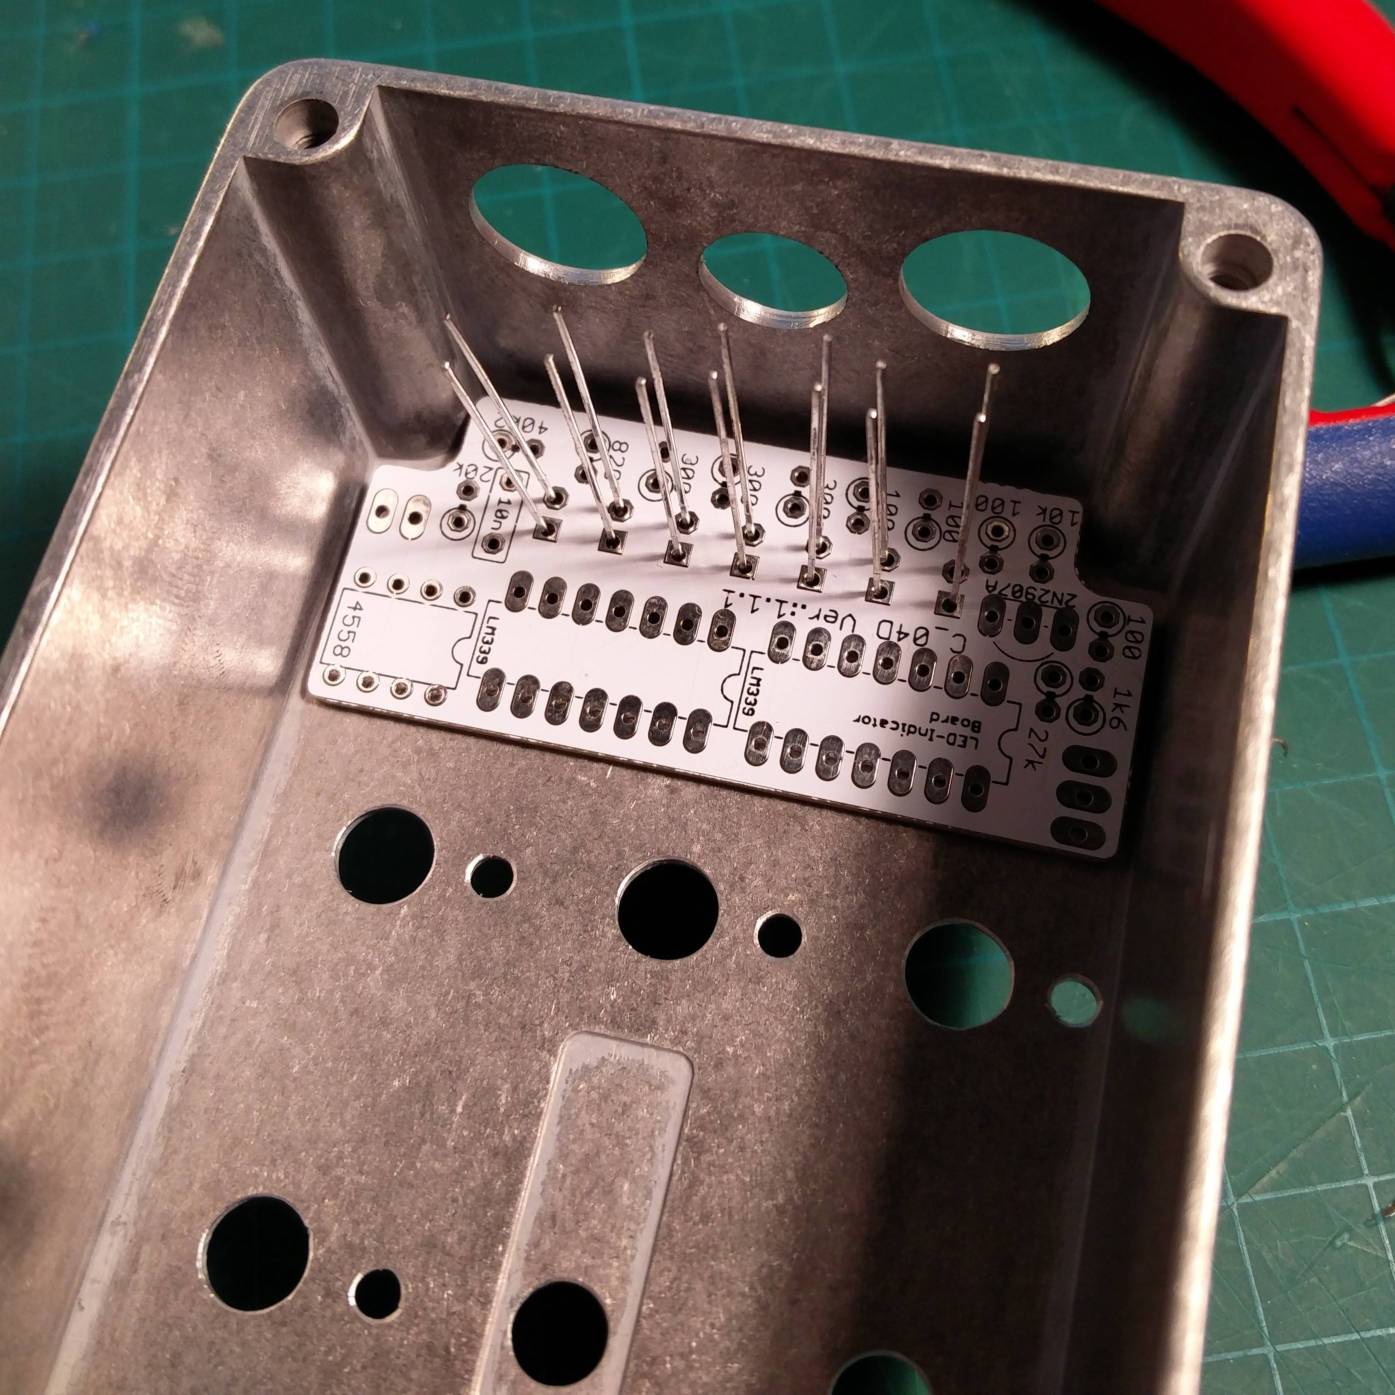
Then take the leds together with the pcb an put it in the enclosure. Solder one pin per led to the board. (in a 90° angle to the pcb/enclosure)
Note: It’s easier if you jack up the enclosure. This way the LEDs can stick out of the enclosures’ front
With the step above the LEDs are perfectly alignd to YOUR enclosure.
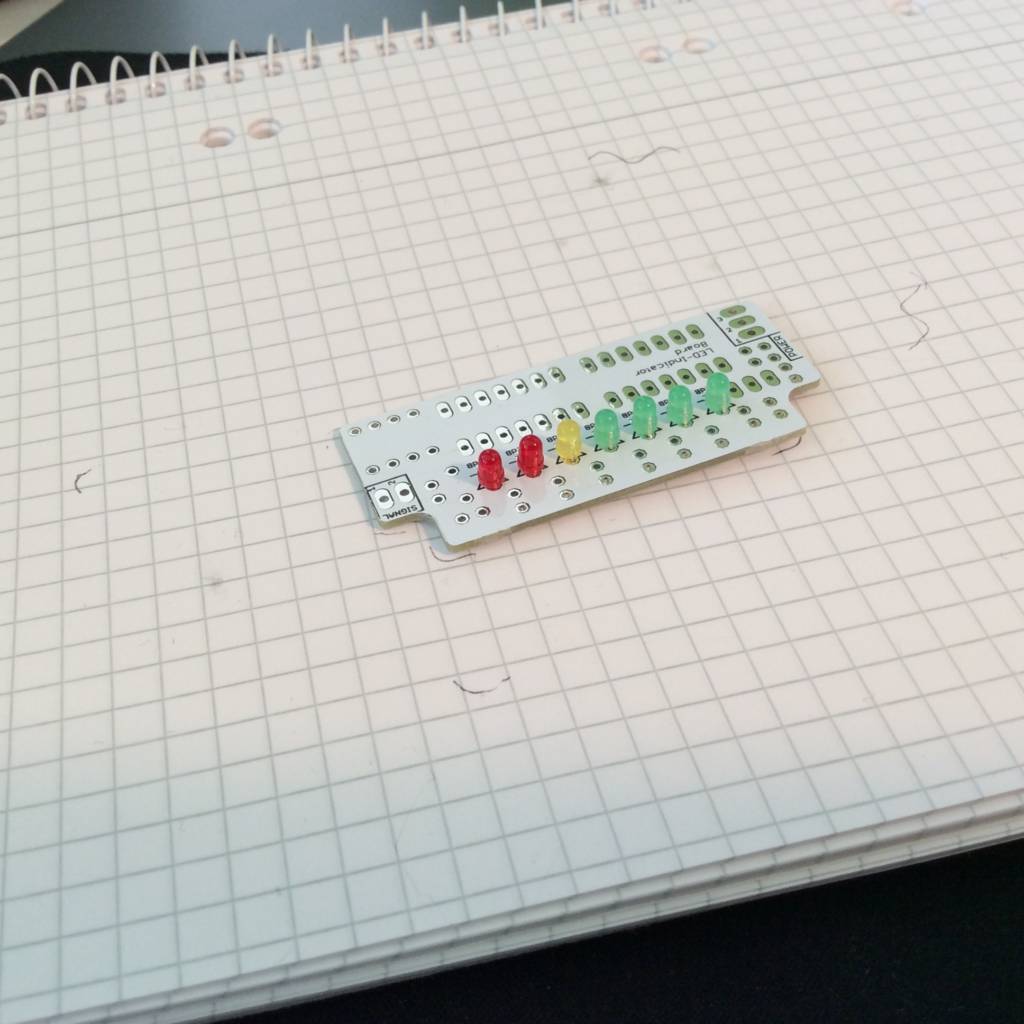
Afterwards you can put the enclosure away and solder the unsoldered pins of the LEDs.
At the end the LED-Indicator-board will be between the enclosure and the main-board that’s the reason you need to cut the pins as plain as possible!

Insert 100R resistors (4x) and solder them.
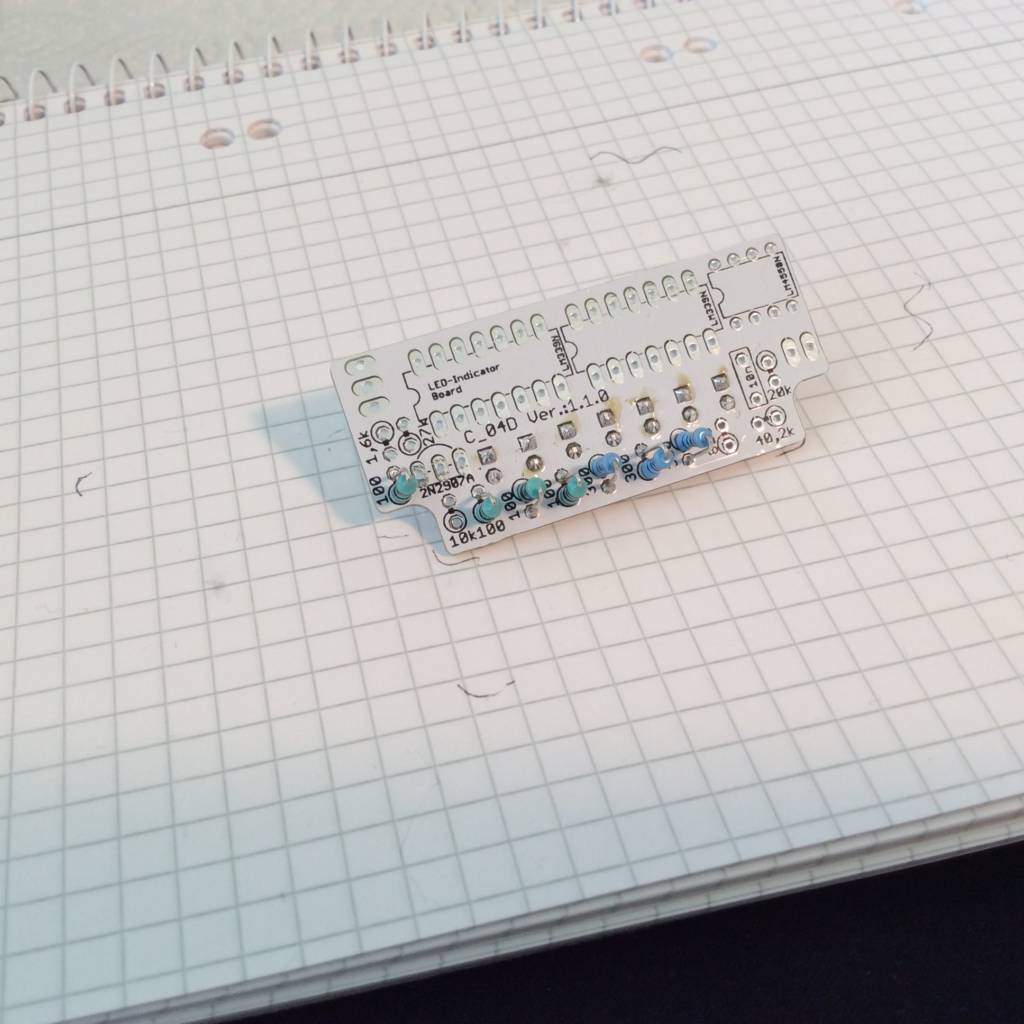
Insert 300R resistors (3x) and solder them.
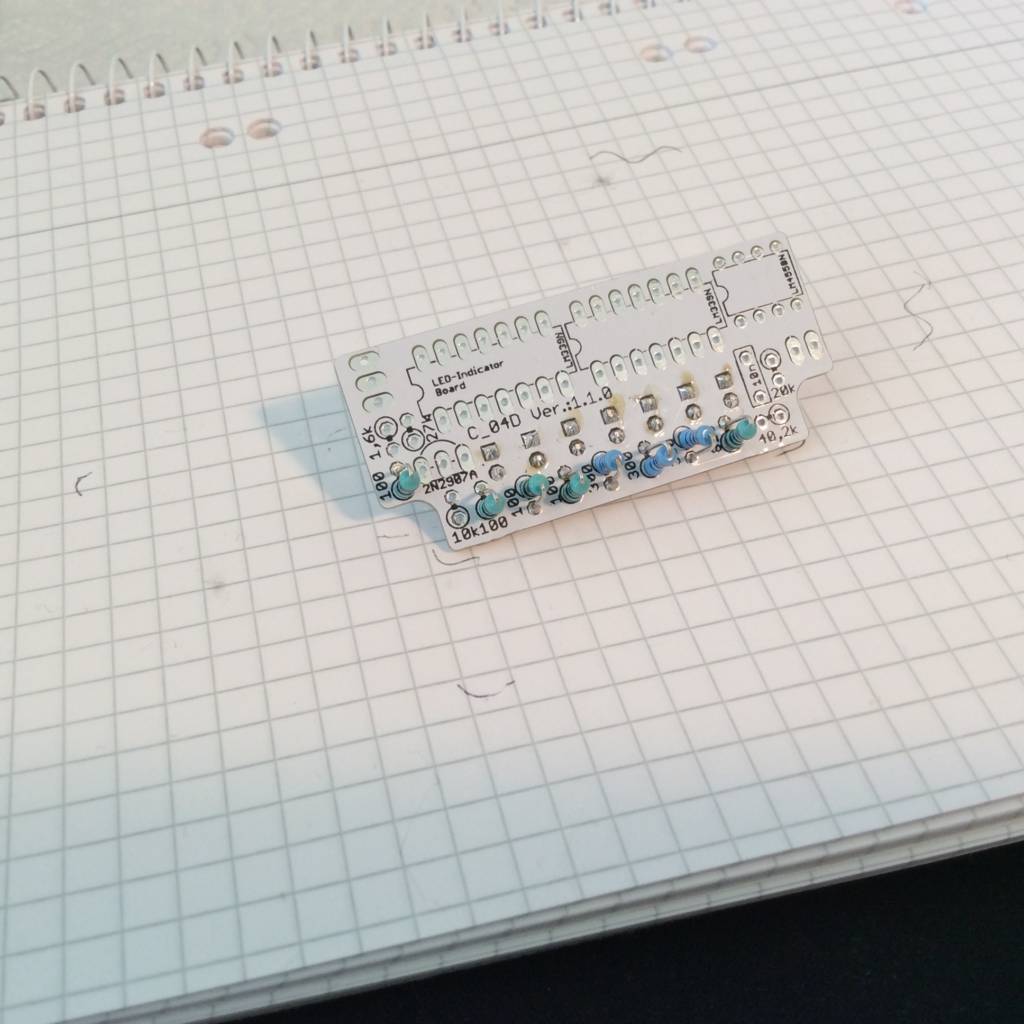
Insert 820R resistor (1x) and solder it.
Insert 1,6k resistor (1x) and solder it.

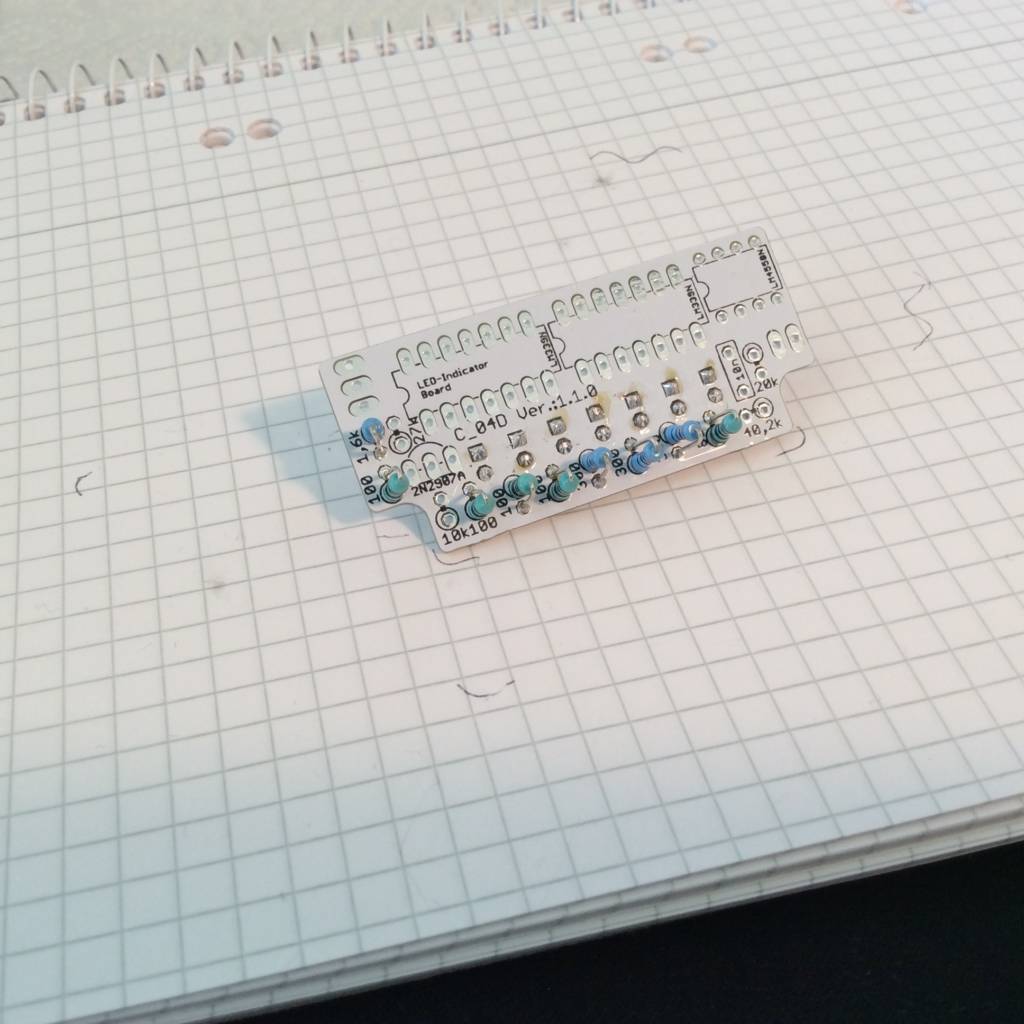
Insert 10k resistor (1x) and solder it.
Insert 20k resistor (1x) and solder it.
Insert 27k resistor (1x) and solder it.
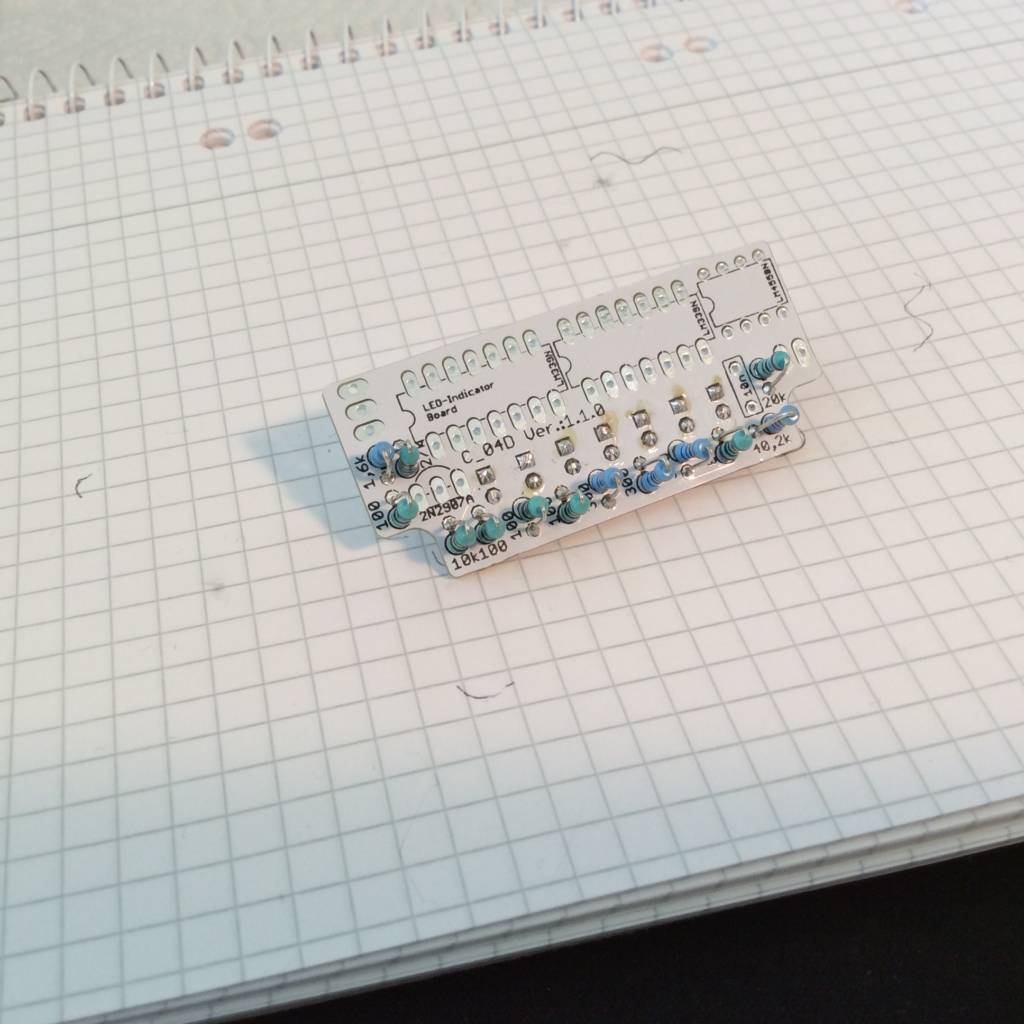
Insert 40,2k resistor (1x) and solder it.